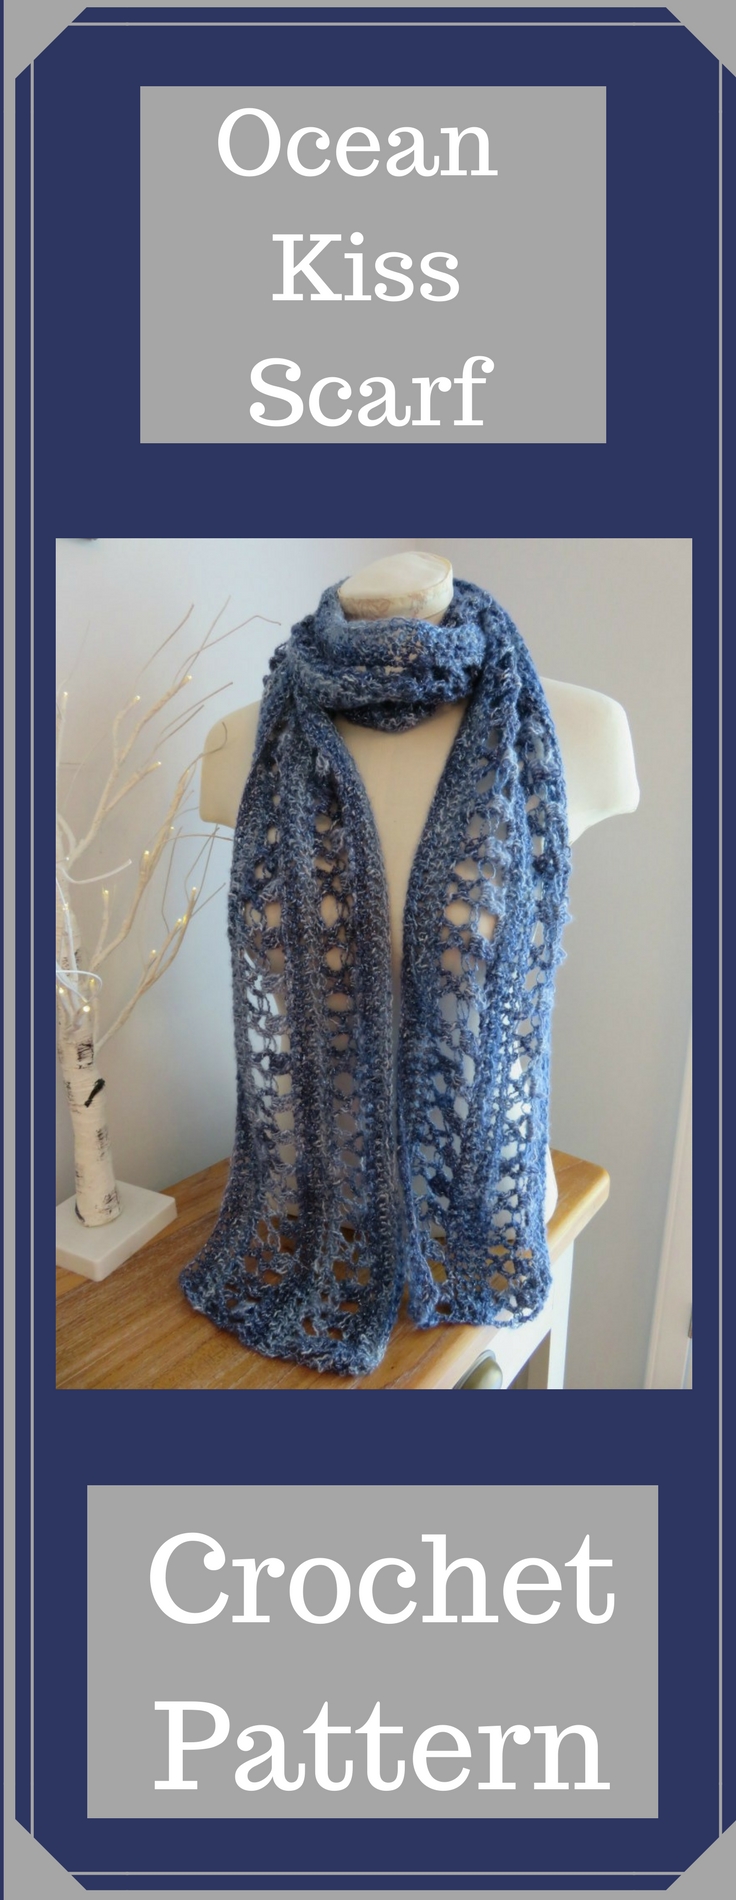
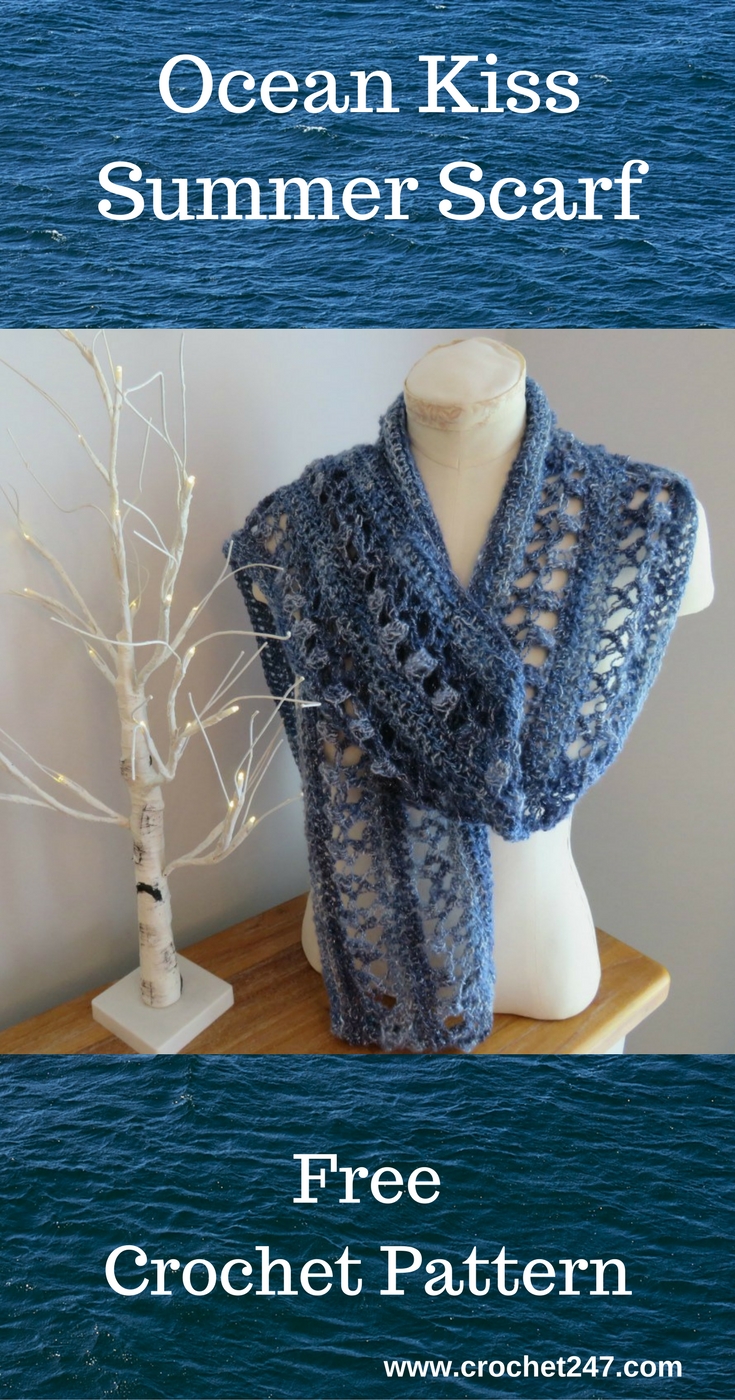
Ocean Kiss Summer Scarf
Hi all
So here as promised the Ocean Kiss Summer Scarf, using the same decorative stitch pattern I used for the Ocean Kiss Summer Poncho. If you made, or are intending to make the poncho, and use Shawl in a Ball from Lion Brand then you will have found yourself with approx 100g spare!
Following feedback from some USA/Canada ladies finding it difficult to convert the stitches, I have just amended the pattern details below to include both USA terms and UK terms separately!
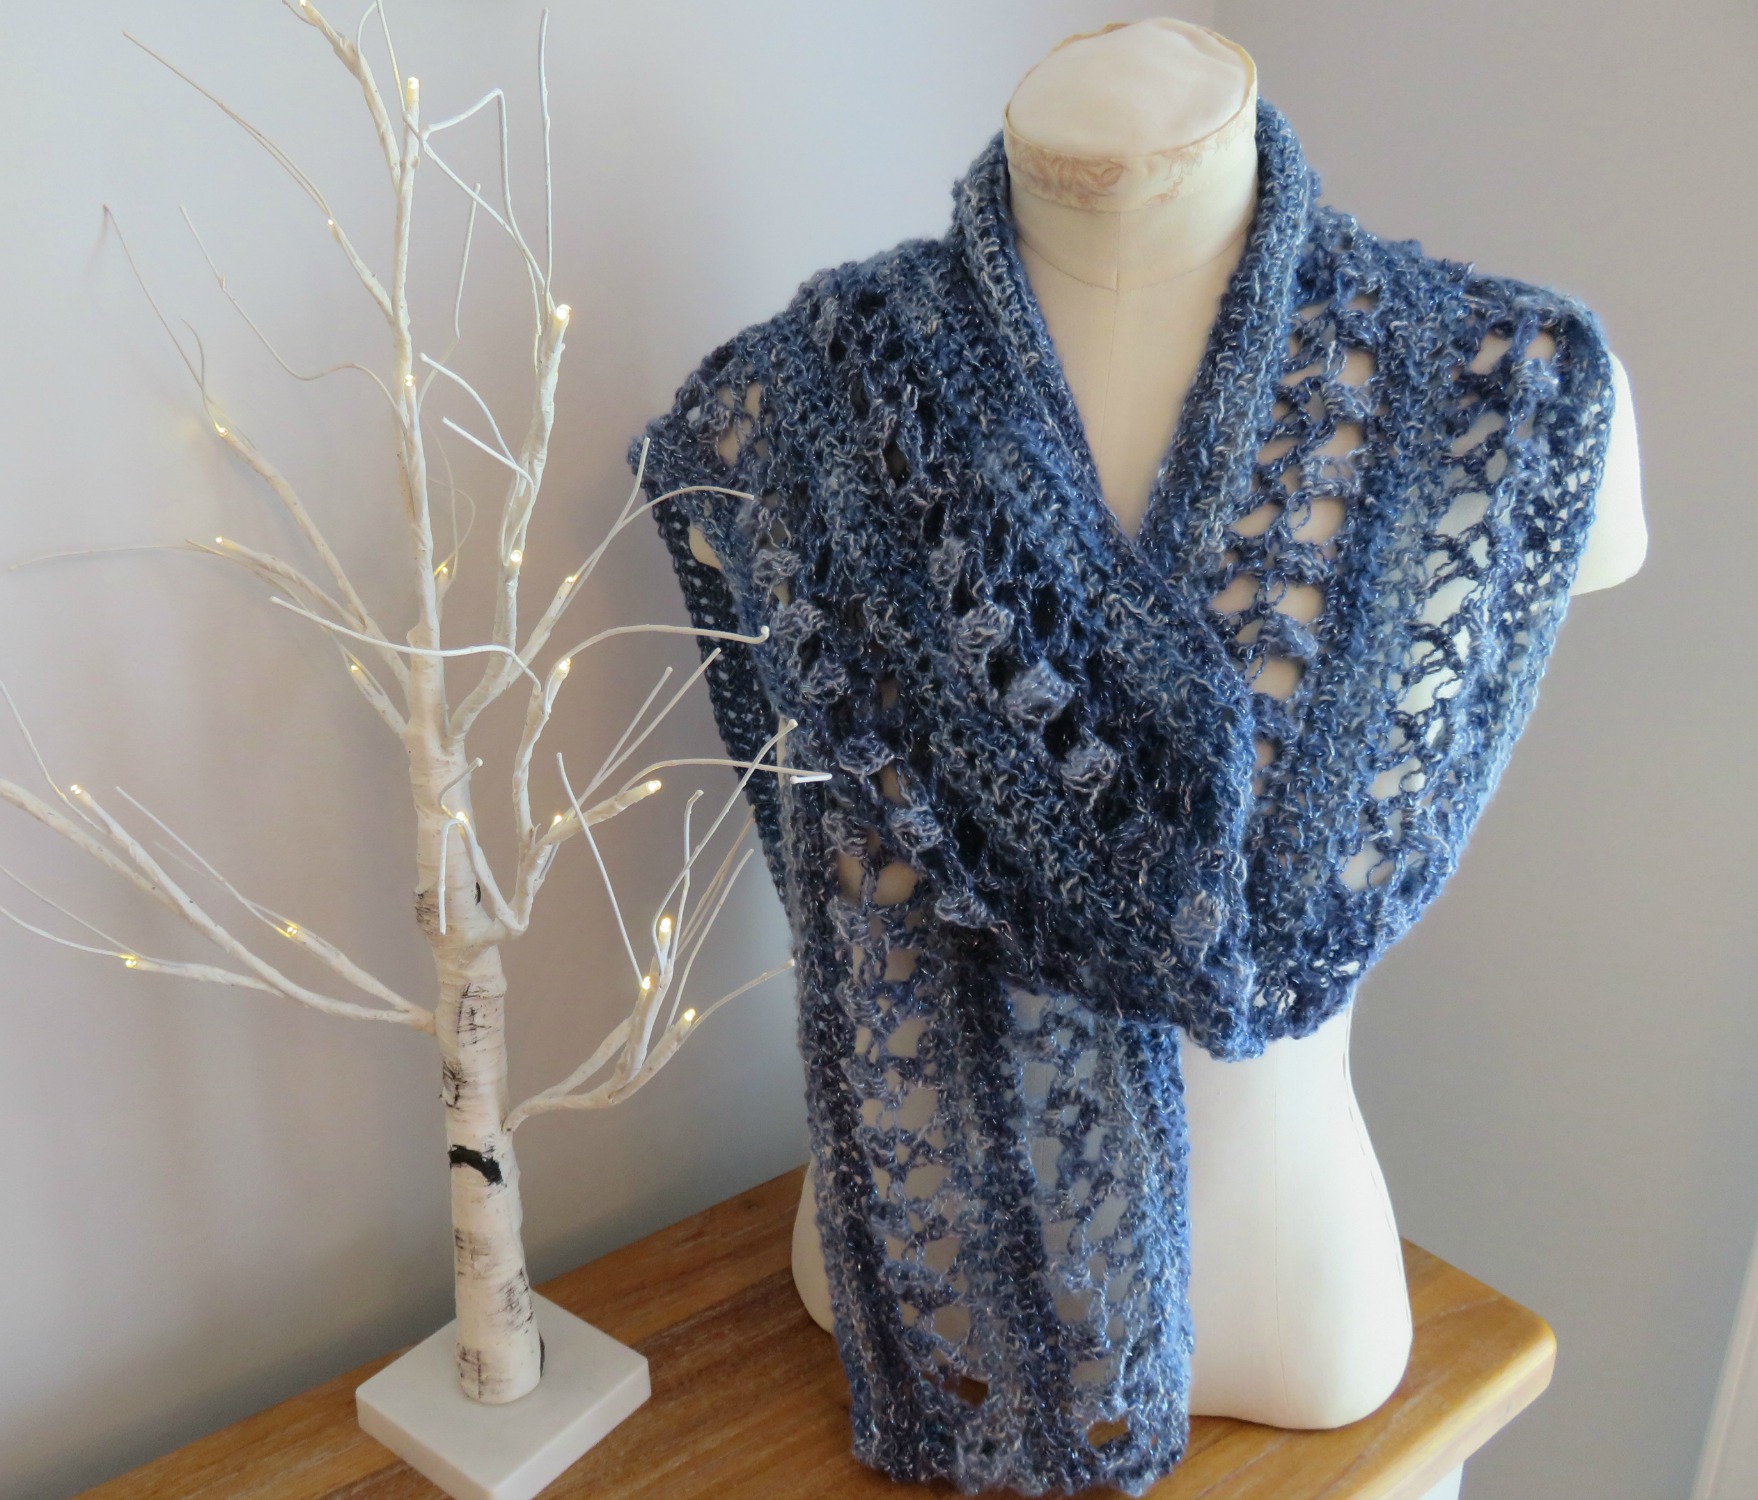
Ocean Kiss Summer Scarf, beautiful lightweight, soft as a whisper, decorative summer scarf.
Click to Favourite in Ravelry!
The Ocean Kiss Summer Scarf is my solution for you, as it only needs 100g and if you have a little less than that; it’s simple to reduce the number of rows, to make a skinnier scarf, as this pattern works along the long edge, end to end.
With Shawl in a Ball, is maybe a little pricier than some yarns you are used to, you get so much high quality yarn for your bucks.
An amazing 481 yards and 150g, of a gorgeous brushed acrylic with 100% cotton slub. It has the look and feel of silk mohair, and none of the itchiness. With just 2 balls, you will be able to make both the Ocean Kiss Summer Poncho, and the Ocean Kiss Summer Scarf!

Lightweight and soft as a whisper summer poncho crochet pattern Ocean Kiss perfect for hazy summer evenings.
The Ocean Kiss Summer Poncho was my very first paid pattern. So as a bonus; and a massive thank-you to those of you who have purchased it, I am giving you the pattern for the Ocean Kiss Summer Scarf, for free, and you can find all the pattern details to use up your remaining yarn to make it below, Enjoy !
If you would prefer an inexpensive ad-free formatted PDF version, here is the link to purchase from Ravelry CLICK HERE
If you live in the UK, and are unsure where to purchase Shawl in a Ball, I do have some in my online store. I am not running a yarn warehouse, but as I like designing with this yarn, I am keeping some small quantities, to help those people who want to use it, without the risk of incurring huge import taxes. Of course you can use any type of substitute yarn for this project too.
Ocean Kiss Summer Scarf Crochet Pattern
Difficulty Level: – Intermediate
Stitches Used: –
UK TERMS USA TERMS
CH – Chain CH – Chain
DC – Double Crochet SC – Single Crochet
HTR – Half Treble Crochet HDC – Half Double Crochet
TRC – Treble Crochet DC – Double Crochet
DTRC – Double Treble Crochet TRC – Treble Crochet
Special Stitches Used: –
USA – TRX:- (Treble “X” shape worked over 3 stitches)
Yarn round hook (yrh) twice, insert hook in next SC, yrh, pull loop through, yrh, pull loop through first 2 loops on hook, skip the next SC, yrh, insert hook into next SC, yrh, pull loop through, (yrh, pull loop through 2 loops on hook) 4 times, CH1, yrh, insert hook into bottom space of the X you are making, yrh, pull loop through, (yrh, pull loop though 2 loops) twice
UK -DTRX:- (Double Treble “X” shape worked over 3 stitches)
Yarn round hook (yrh) twice, insert hook in next DC, yrh, pull loop through, yrh, pull loop through first 2 loops on hook, skip the next DC, yrh, insert hook into next DC, yrh, pull loop through, (yrh, pull loop through 2 loops on hook) 4 times, CH1, yrh, insert hook into bottom space of the X you are making, yrh, pull loop through, (yrh, pull loop though 2 loops) twice
USA – DC Cluster:- DC3TOG:- 3 Double Crochets worked together in the same stitch
Yarn round hook (yrh), insert hook into the CH1 space forming the top half of your “X” , pull loop through yrh, pull through 2 loops, yrh, insert hook back into same space, yrh, pull loop through, yrh, pull through 2 loops, yrh, insert hook back into same space, yrh, pull loop through, yrh, pull through 2 loops, yrh, pull through remaining 4 loops.
UK – TRC Cluster:- TR3TOG:- 3 Treble Crochets worked together in the same stitch
Yarn round hook (yrh), insert hook into the CH1 space forming the top half of your “X” , pull loop through yrh, pull through 2 loops, yrh, insert hook back into same space, yrh, pull loop through, yrh, pull through 2 loops, yrh, insert hook back into same space, yrh, pull loop through, yrh, pull through 2 loops, yrh, pull through remaining 4 loops.
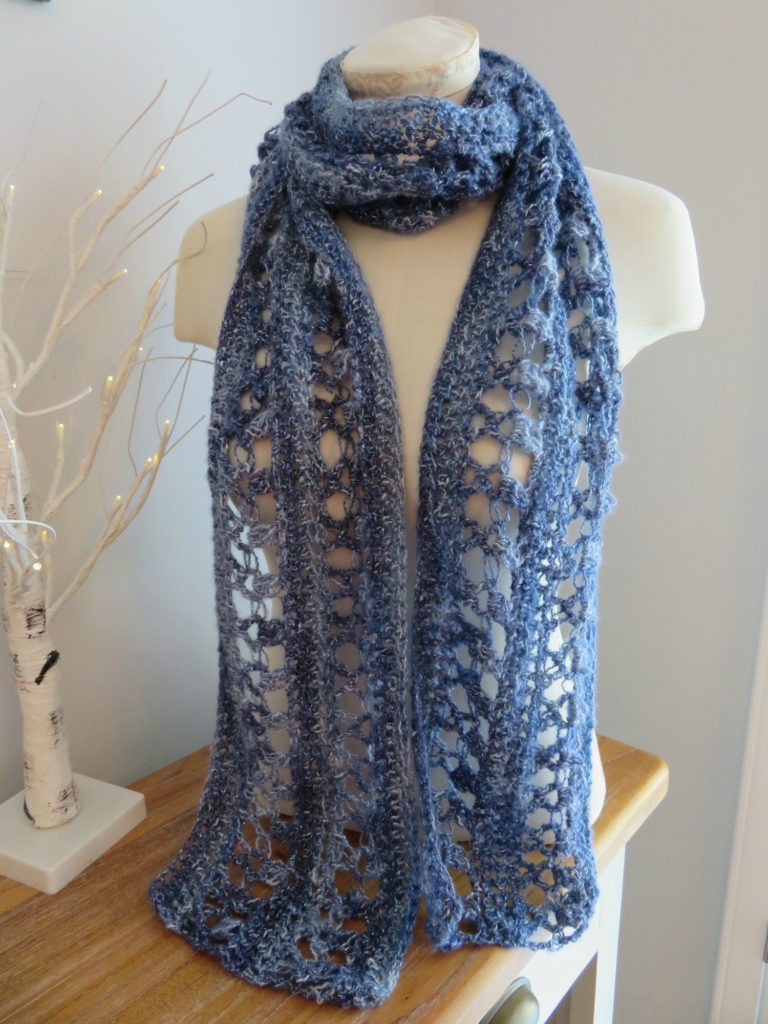
Ocean Kiss Summer Scarf featuring Shawl in a Ball from Lion Brand in Wind Chimes beautiful lightweight and decorative summer scarf.
Yarn Used: – Lion Brand Shawl in a Ball 61% cotton, 34% acrylic, 5% other, 473m 150g balls – I used 2/3rds of one ball approx. 100g for this project.
Hook Size Used: – 9mm crochet hook, your project will grow quickly and have a lovely open lace effect.
Gauge: – 3.5” horizontal 3 “X” Stitches, or 9 HDC (UK HTR) ; 3.5” vertical – one repeat of Rows 2-7
Additional Pattern Note:- The finished scarf measures 80” in length and 6 ¼ inches wide. If you want it to be longer use the multiple I have added divisible by 3, then add 2, and add 1 just for your starting chain.
Instructions written using USA crochet terms.
CH1 – Does not count as a stitch
CH4 – Counts as the first TRC stitch on “X” rows, meaning the very first space to place a stitch, is already “used”. And also counts as the first DC/CH1 on DC Cluster rows.
Multiple 3+2+1 for the foundation chain.
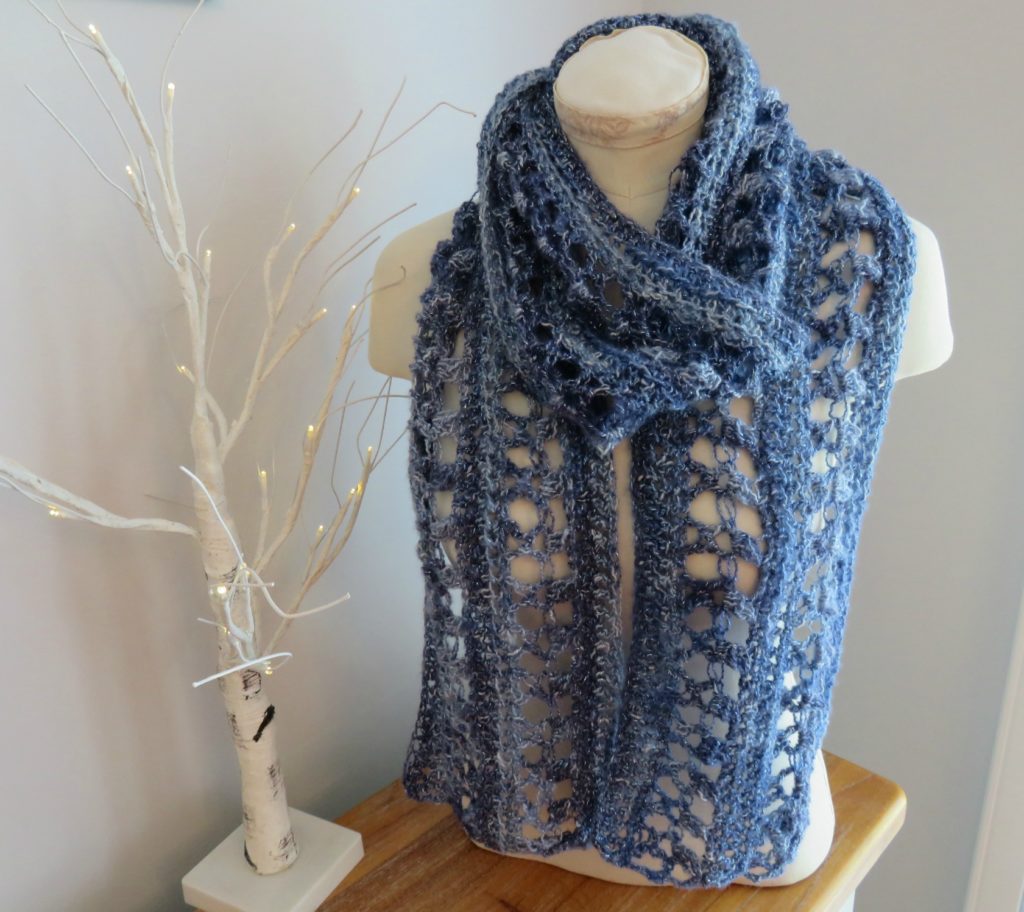
Ocean Kiss Summer Scarf featuring Shawl in a Ball from Lion Brand in Wind Chimes beautiful lightweight and decorative summer scarf.
ROW 1:- CH183, SC in 2nd CH from hook, SC in each CH to end of row. (182 SC), turn
ROW 2:- CH1, HDC in each SC, repeat across, (182 HDC), turn
ROW 3:- CH1, HDC in each HDC, repeat across, (182 HDC), turn
ROW 4:- CH1, SC in each HDC, repeat across, (182 SC), turn
ROW 5:- CH4 (counts as a TRC), TRX across, ending with a TR in final SC (60 TRX, 2 TR), turn
ROW 6:- CH4, *(DC Cluster (space in top half of first “X”), CH2), repeat a further 58 times, final “X” DC Cluster, CH1, DC in 4th CH, turn (60 DC Cluster, 2DC)
ROW 7:- CH1, SC into previous row DC, SC in the CH1 space, *(SC through top of DC3TOG Cluster, 2 SC in CH2 space), *repeat across ending with DC through top of final cluster, SC under CH1 space (4th CH previous row), then SC in 3rd CH of previous row. (182 SC)
Check your count here, the easiest place to miss a SC is either the first 2, (the SC in the first cluster is your 3rd SC made) or the last 2 SC’s (made using the starting CH4 of the previous row).
Ocean Kiss Summer Scarf featuring Shawl in a Ball from Lion Brand in Wind Chimes beautiful lightweight and decorative summer scarf.
ROW 8:- CH1, HDC in each SC, repeat across, (182 HDC), turn
ROW 9:- CH1, HDC in each HDC, repeat across, (182 HDC), turn
ROW 10:- CH1, SC in each HDC, repeat across, (182 SC), turn
ROW 11:- CH4 (counts as a TRC), TRX across, ending with a TRC in final SC (60 TRX, 2 TRC), turn
ROW 12:- CH4, *(DC Cluster (space in top half of first “X”), CH2), repeat a further 58 times, final “X” DC Cluster, CH1, DC in 4th CH, turn (60 DC Cluster, 2 DC)
ROW 13:- CH1, SC into previous row DC, SC in the CH1 space, *(SC through top of DC3TOG Cluster, 2 SC in CH2 space), *repeat across ending with SC through top of final cluster, SC under CH1 space (4th CH previous row), then SC in 3rd CH of previous row. (182 SC)
Check your count here, the easiest place to miss a SC is either the first 2, (the SC in the first cluster is your 3rd SC made) or the last 2 SC’s (made using the starting CH4 of the previous row).
ROW 14:- CH1, HDC in each SC, repeat across, (182 HDC), turn
ROW 15:- CH1, HDC in each HDC, repeat across, (182 HDC), turn
ROW 16:- CH1, SC in each HDC, repeat across, (182 SC).
Cut your yarn, leaving a tail to weave in. Pull yarn through final loop on hook and then weave in the end to hide.
Instructions written using UK crochet terms.
CH1 – Does not count as a stitch
CH4 – Counts as the first DTR stitch on “X” rows, meaning the very first space to place a stitch, is already “used”. And also counts as the first TRC/CH1 on TRC Cluster rows.
Multiple 3+2+1 for the foundation chain.
ROW 1:- CH183, DC in 2nd CH from hook, DC in each CH to end of row. (182 DC), turn
ROW 2:- CH1, HTR in each DC, repeat across, (182 HTR), turn
ROW 3:- CH1, HTR in each HTR, repeat across, (182 HTR), turn
ROW 4:- CH1, DC in each HTR, repeat across, (182 DC), turn
ROW 5:- CH4 (counts as a DTR), DTRX across, ending with a DTR in final DC (60 DTRX, 2 DTR), turn
ROW 6:- CH4, *(TRC Cluster (space in top half of first “X”), CH2), repeat a further 58 times, final “X” TRC Cluster, CH1, TRC in 4th CH, turn (60 TRC Cluster, 2 TRC)
ROW 7:- CH1, DC into previous row TRC, DC in the CH1 space, *(DC through top of TR3TOG Cluster, 2 DC in CH2 space), *repeat across ending with DC through top of final cluster, DC under CH1 space (4th CH previous row), then DC in 3rd CH of previous row. (182 DC)
Check your count here, the easiest place to miss a DC is either the first 2, (the DC in the first cluster is your 3rd DC made) or the last 2 DC’s (made using the starting CH4 of the previous row).
ROW 8:- CH1, HTR in each DC, repeat across, (182 HTR), turn
ROW 9:- CH1, HTR in each HTR, repeat across, (182 HTR), turn
ROW 10:- CH1, DC in each HTR, repeat across, (182 DC), turn
ROW 11:- CH4 (counts as a DTR), DTRX across, ending with a DTR in final DC (60 DTRX, 2 DTR), turn
ROW 12:- CH4, *(TRC Cluster (space in top half of first “X”), CH2), repeat a further 58 times, final “X” TRC Cluster, CH1, TRC in 4th CH, turn (60 TRC Cluster, 2 TRC)
ROW 13:- CH1, DC into previous row TRC, DC in the CH1 space, *(DC through top of TR3TOG Cluster, 2 DC in CH2 space), *repeat across ending with DC through top of final cluster, DC under CH1 space (4th CH previous row), then DC in 3rd CH of previous row. (182 DC)
Check your count here, the easiest place to miss a DC is either the first 2, (the DC in the first cluster is your 3rd DC made) or the last 2 DC’s (made using the starting CH4 of the previous row).
ROW 14:- CH1, HTR in each DC, repeat across, (182 HTR), turn
ROW 15:- CH1, HTR in each HTR, repeat across, (182 HTR), turn
ROW 16:- CH1, DC in each HTR, repeat across, (182 DC).
Cut your yarn, leaving a tail to weave in. Pull yarn through final loop on hook and then weave in the end to hide.
Ocean Kiss Summer Scarf, wear it 4 ways, which way will you wear yours?
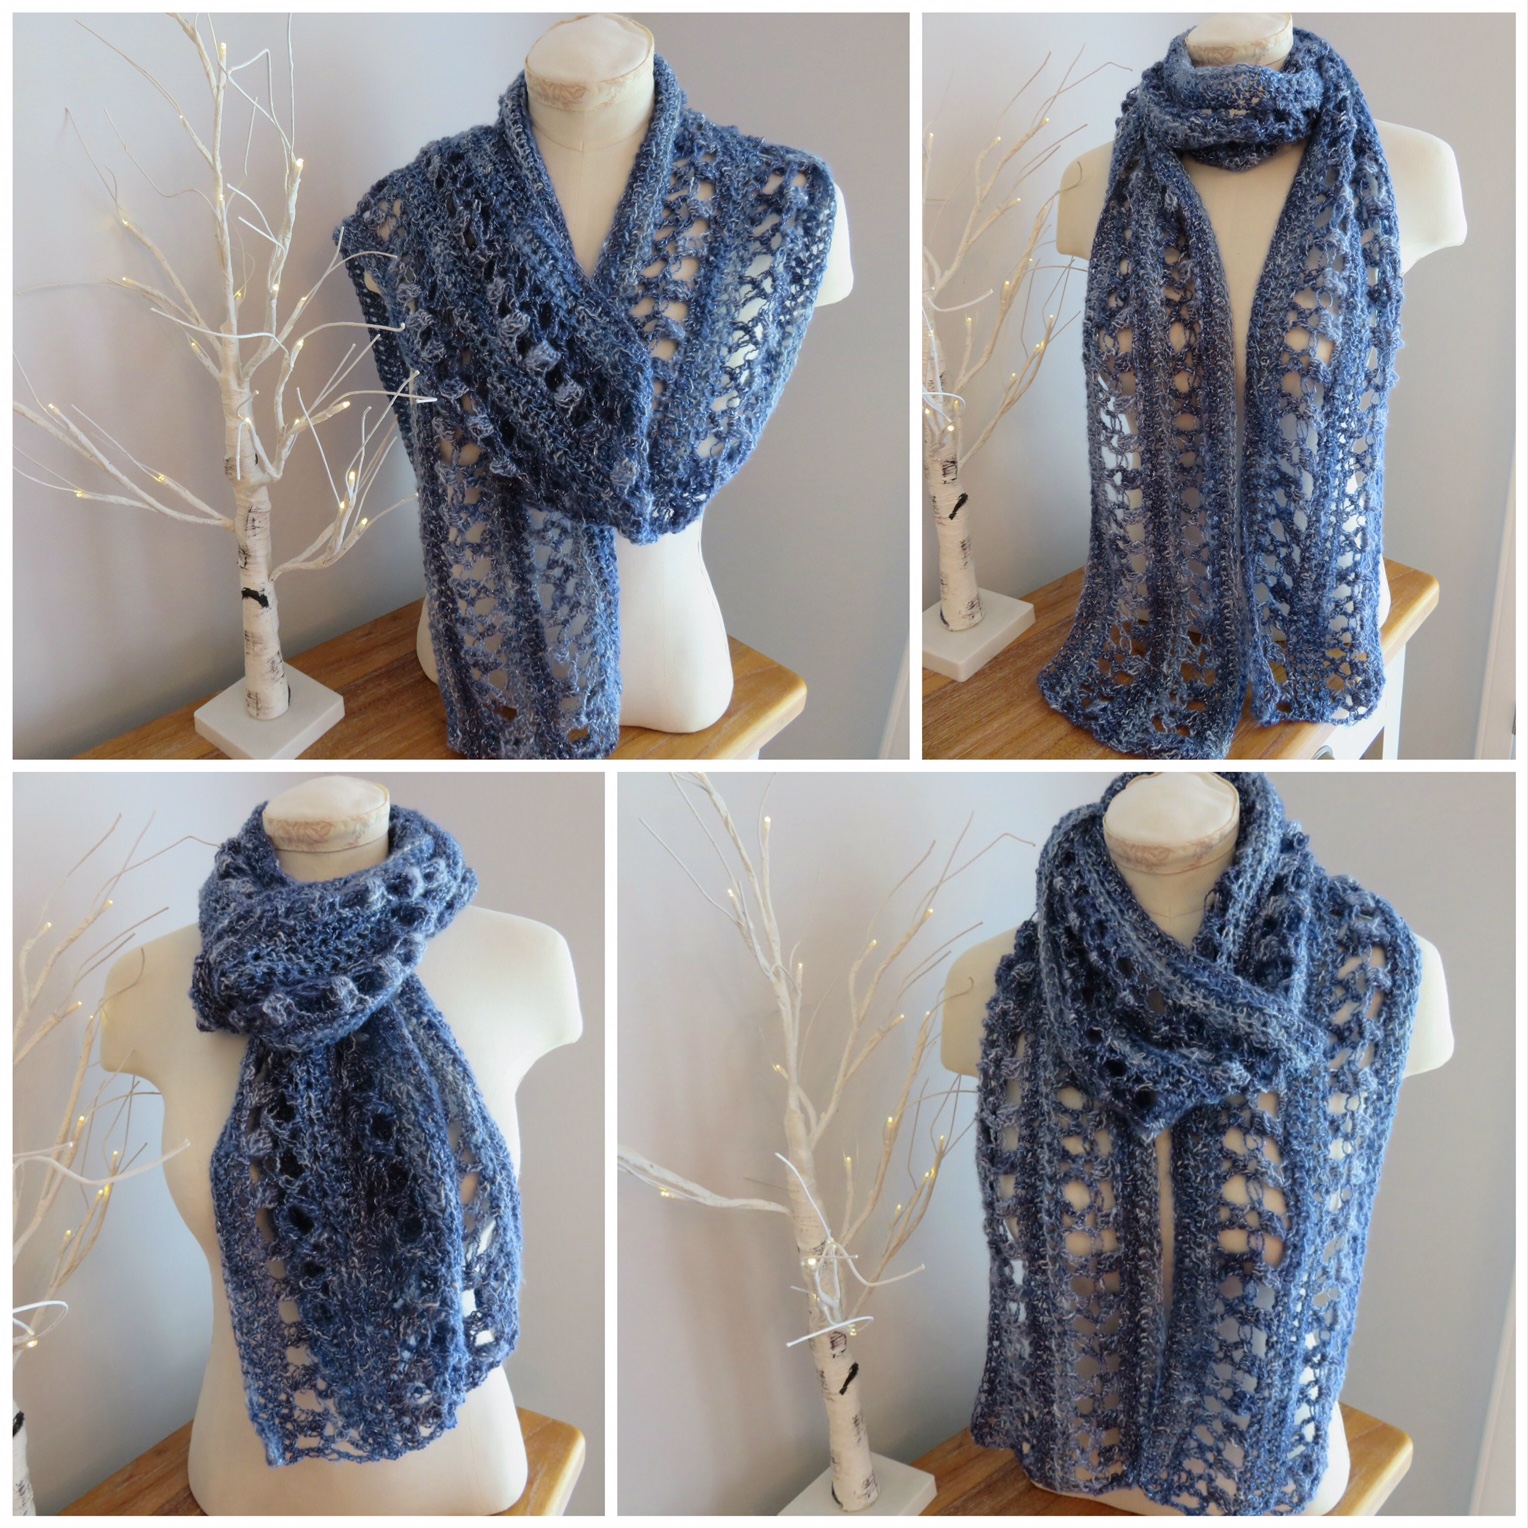
Ocean Kiss Summer Scarf, beautiful lightweight, soft as a whisper, decorative summer crochet scarf
Any questions contact me at sarah@crochet247.com
Did you like the pattern? Please remember to PIN/LIKE/SHARE on Facebook/Instagram/Pinterest so others can find me, and you don’t miss any new patterns coming soon!
Wear it 4 ways gorgeous Ocean Kiss Scarf crochet pattern using Lion Brand Shawl in a Ball.
I have also just set up a new Facebook Group called Crochet 24/7 Club – Crochet Together, I would love to have you join!
Facebook – Crochet 24/7
Instagram – @crochet247
Pinterest – Crochet247
Ravelry – Crochet247
@Copyright 2017 Sarah Sullivan owner of Crochet247.com. This pattern is my own original design and whilst you may sell any finished articles you make from the pattern at craft fairs, Etsy etc. please always add a link back to my blog/website and provide credit for the pattern.
If you would like to share the pattern on social media please ensure that if you Pin etc. that you provide the link back directly to my website post.
If you want to share the pattern on your own website/blog then please use just the first photo in the post and link back to my original post.
You may not copy and paste my patterns; or give away printed copies of this pattern or my blog post on the pattern
