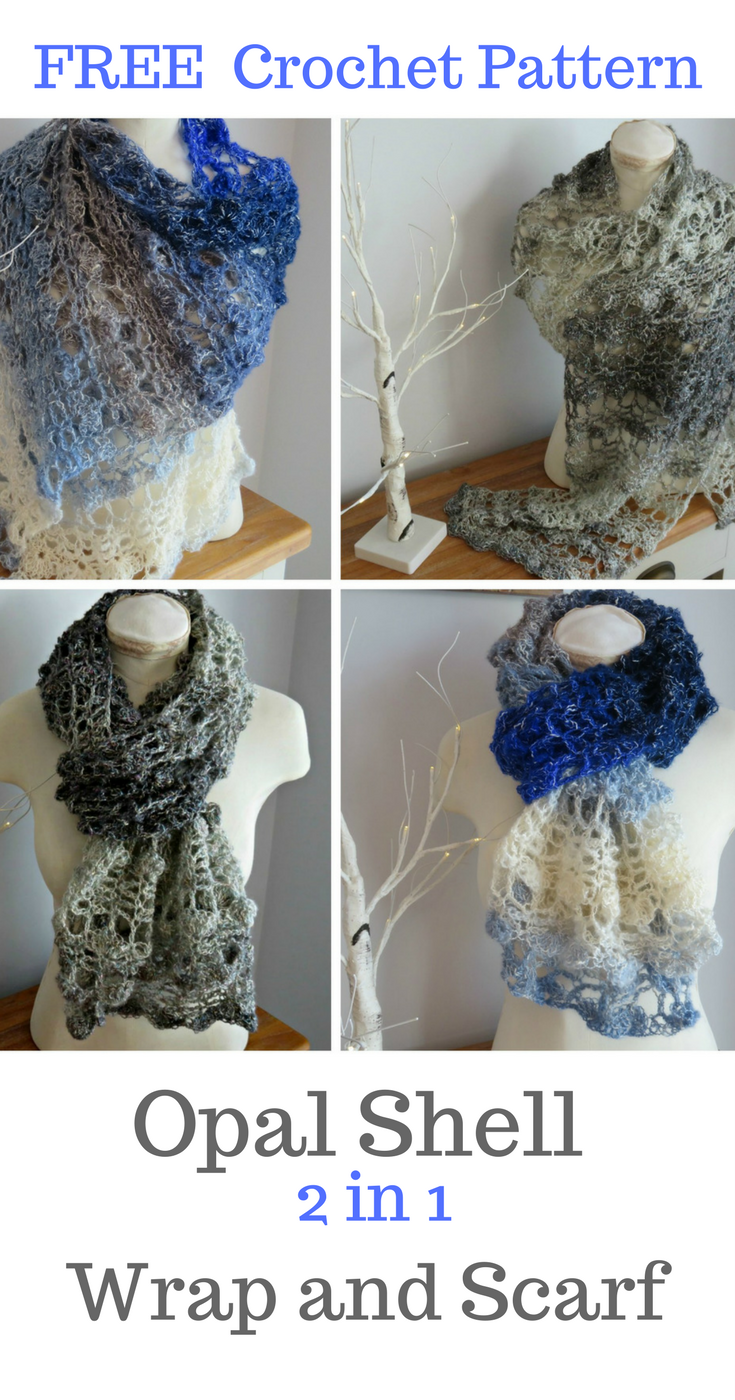
Feeling thrilled to have been featured #2 Opal Shell 2 in 1 Wrap and Scarf in the Linky Ladies Community Link Party #94, be sure to check out all the other wonderful patterns here too.
Crochet community link party anniversary review on pattern-paradise.com #crochet #linkparty #crochetpatterns #patternparadise
Opal Shell 2 in 1 Crochet Wrap & Scarf
Opal Shell 2 in 1 Crochet Wrap & Scarf
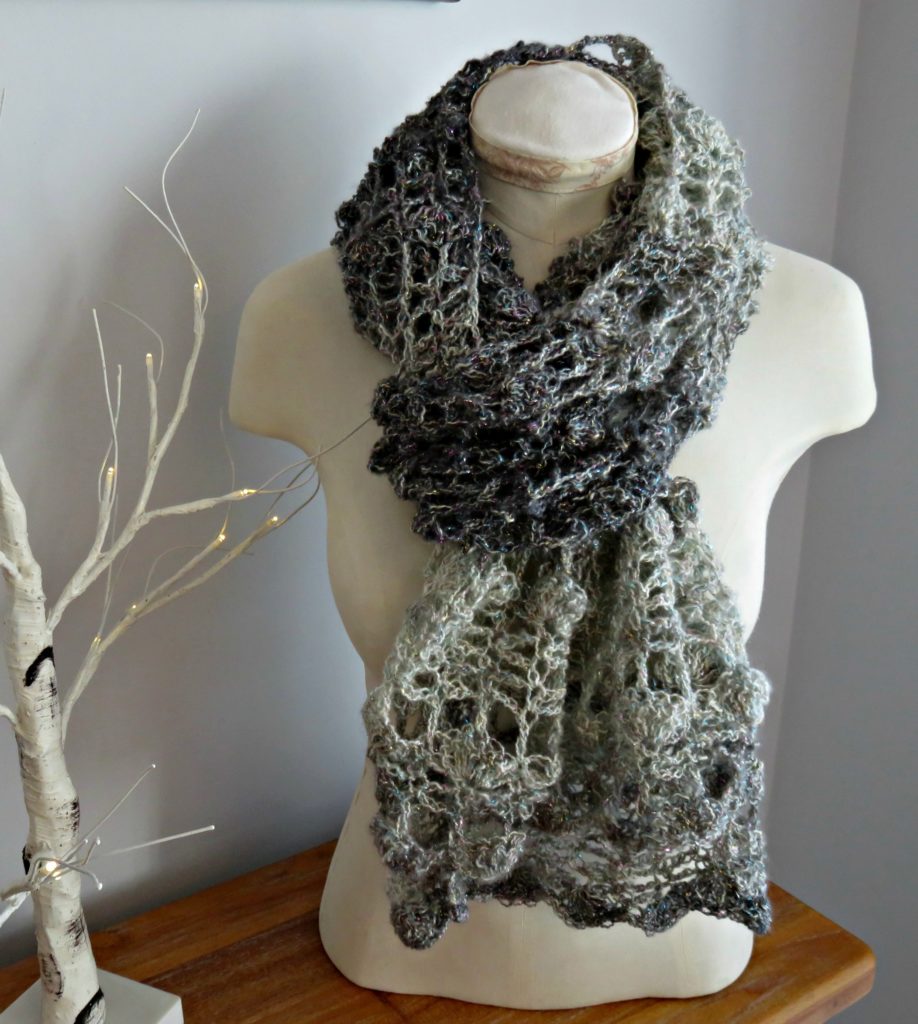
Which way will you wear yours? Opal Shell 2 in 1 Crochet Wrap & Scarf
Add to your Favourites or Queue on Etsy or Ravelry
The Opal Shell 2 in 1 Crochet Wrap & Scarf
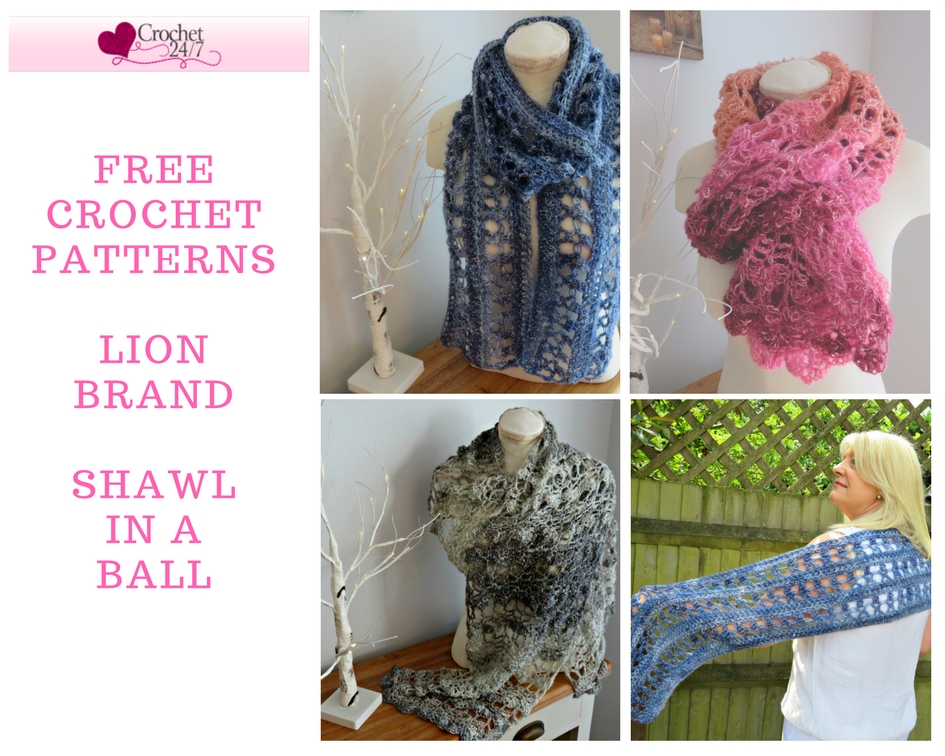
– using Shawl in a Ball from Lion Brand
Last year, Lion Brand launched what has become a real winner for them in Shawl in a Ball. For anyone not familiar with this yarn; the idea is that you can make an entire item;- shawl, wrap, scarf, etc . with just one ball – hence the name! Let me tell you, this yarn just goes on and on and on …… and was perfect for the Opal Shell 2 in 1 pattern!
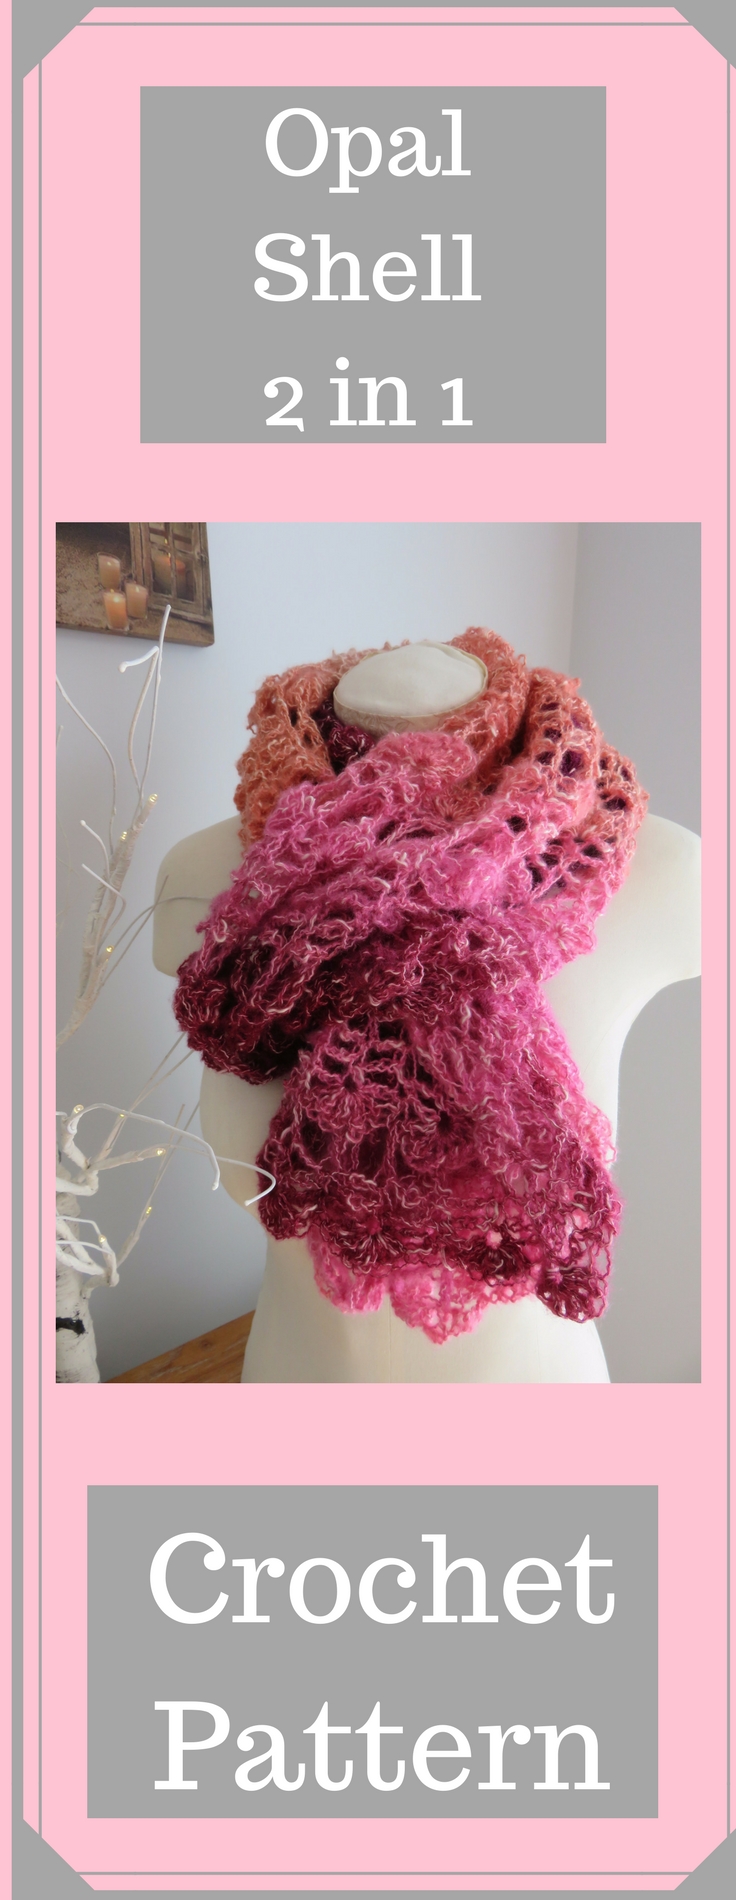
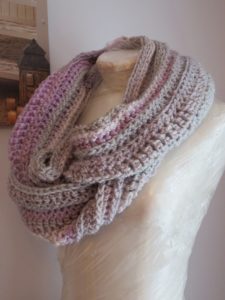
Shawl in a Ball comes in a beautiful combination of colours, with the ombre effect light to dark running through the skein,. The yarn is a brushed acrylic/cotton slub, which gives an almost hazy mohair type effect and silky feel; without the itchiness that can come with natural fibres.
Wear me as a wrap?
A few months ago Lion Brand expanded the range to include a selection of colours with a metallic like thread running throughout, which again I have not found to be at all itchy and I am allergic to wool and metal, so I would know!
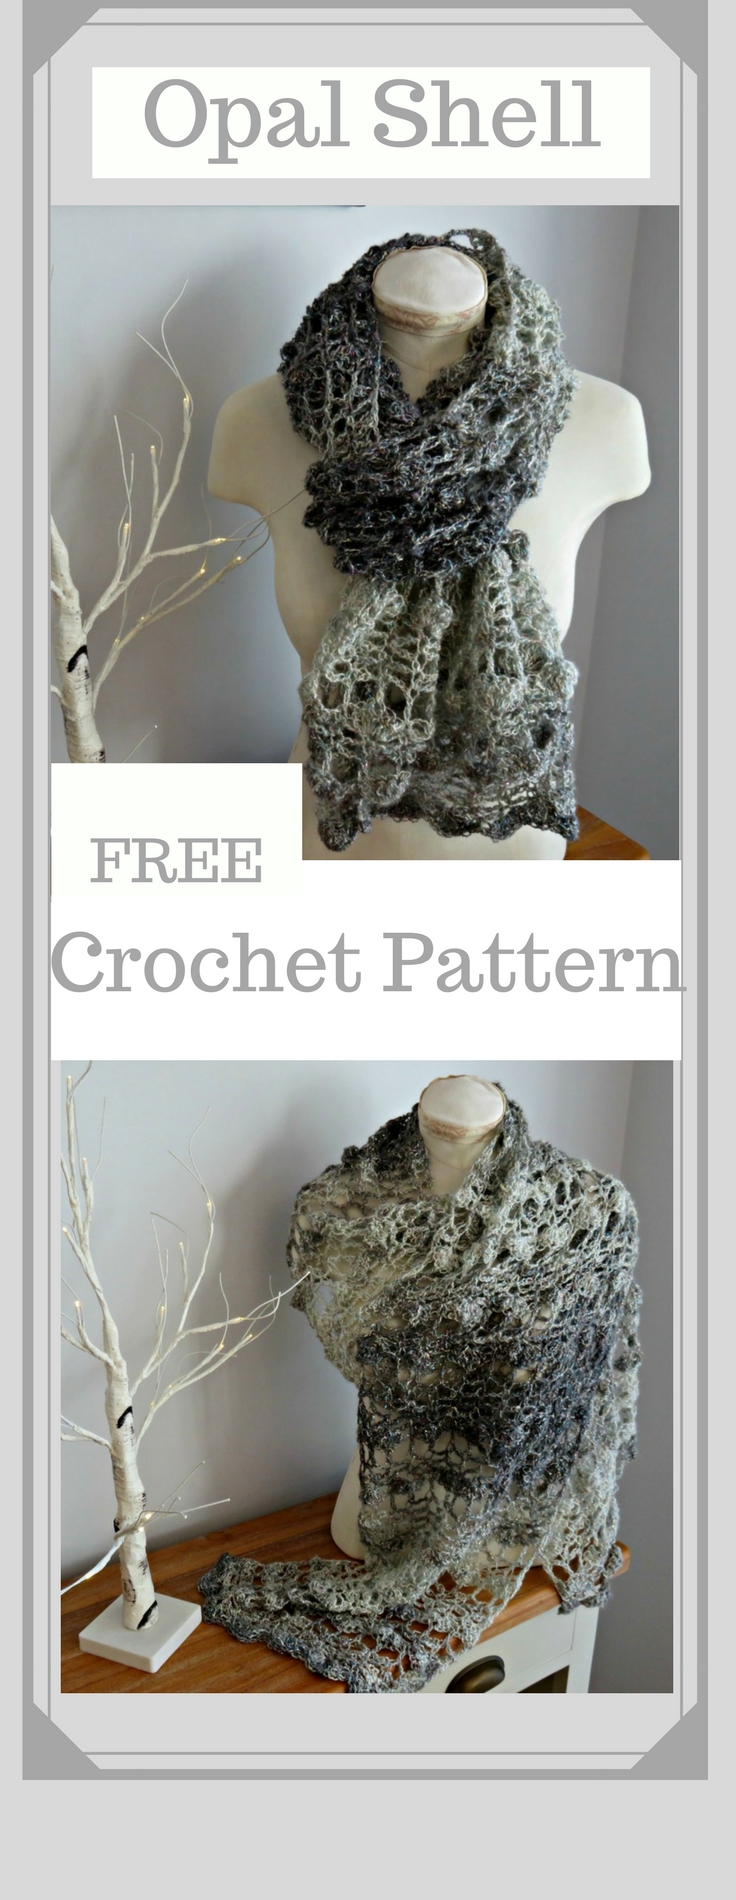
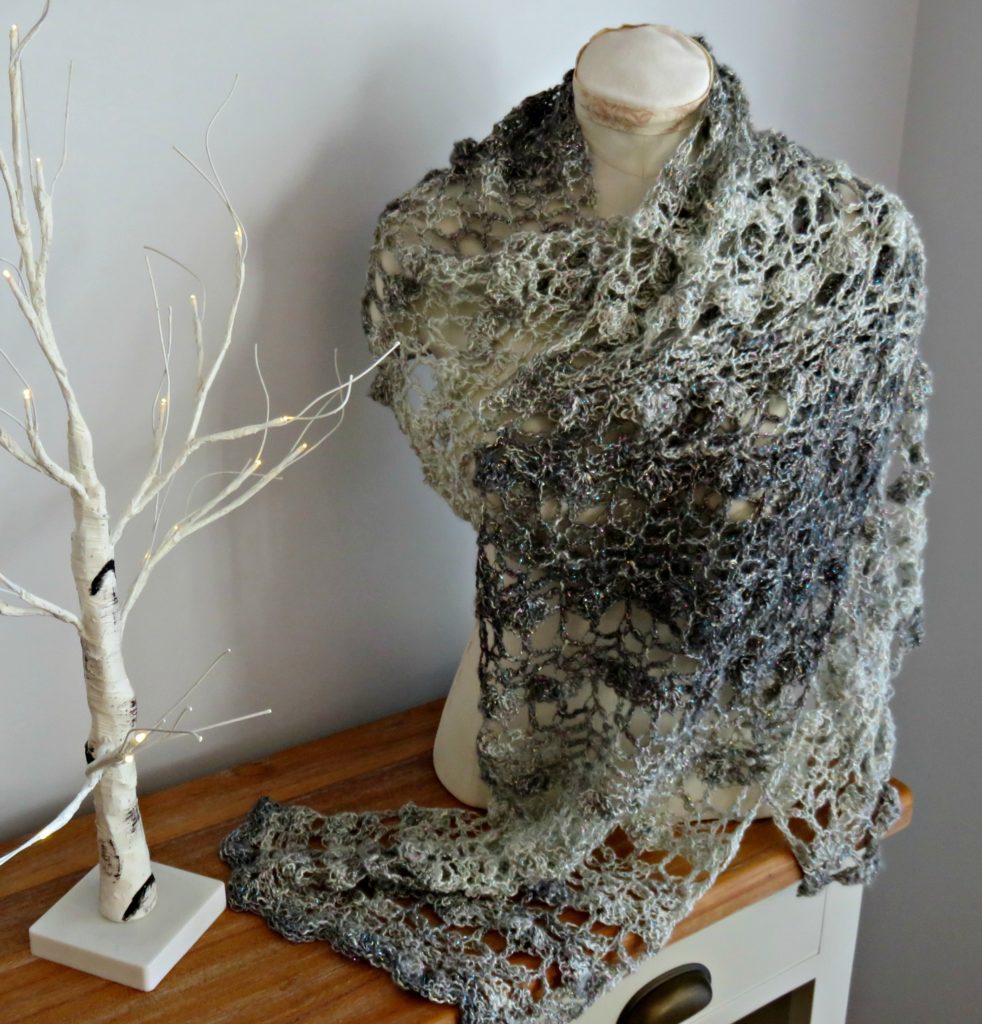
My favourite of the metallic colours is the Opal which is a beautiful light into dark grey; with Aurora Borealis metallic thread, although I have really tried with my pictures; it’s difficult to capture how this yarn twinkles in the sunshine, if you like the grey, but prefer it without the metallic thread, then try Feng Shui Grey.
So let’s talk about the pattern then!
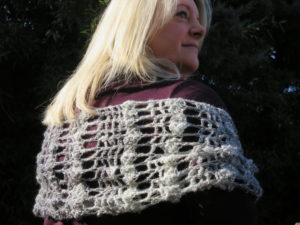
The Opal Shell 2 in 1 Crochet Wrap & Scarf is designed to be worn as both a wrap and a scarf. Ideal for the warmer months; it will add colour to a plain t-shirt, dress up a casual outfit, or worn elegantly as an evening wrap. It’s long enough to fold in half and anchor as a scarf, or you could wear it long and fix with a brooch, the possibilities are endless.
As you can see from the pictures the Opal Shell 2 in 1 Wrap & Scarf is very light and airy, and I achieved this by using my trusty 9mm crochet hook. I haven’t blocked the Opal Shell, as I like the finished effect as it is.
Those of you who don’t consider an item finished until it has been blocked, will probably see a much more defined stitch pattern as a result, and I would love to see some of your pictures, if you do block!
Difficulty Level: – Easy + due to slightly more challenging combination of stitches, not suitable for a complete beginner.
Stitches Used: – UK TERMS
CH – Chain
TCH – Turning Chain
DC – Double Crochet
TRC – Treble Crochet
Stitches Used:- USA Terms
CH – Chain
TCH – Turning Chain
SC – Single Crochet
DC – Double Crochet
Special Stitches: – Shell (UK): – 7 Treble Crochets in same stitch; Shell (USA):- 7 Double Crochets in same stitch
Yarn Used: – Lion Brand Shawl in a Ball – Opal (61% cotton, 34% acrylic, 5% other fibre – 150 g, 518 yds, 473 m).
This yarn comes both with, and without the metallic thread and is a 4 weight. It does go thick and thin in places adding to the mock mohair effect. A 6mm crochet hook is advised by Lion Brand, but for this lacy open effect I have used a 9mm and a loose tension.
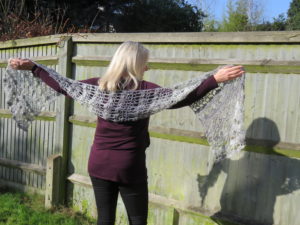
Wrap or Scarf?
Hook Size Used: – 9mm crochet hook
Gauge: – not important for this project.
Instructions written using USA crochet terms
ROW 1:- CH 60, 3 DC in 4th CH from the hook, skip 3 CH, 1 SC in next CH *skip 3 CH, Shell in next CH, skip 3 CH, 1 SC in next CH, repeat from * to the last 4 CH, skip 3 CH, 4 DC in last CH, turn.
(you should have 6 whole shells and 2 x 4 DC (half/shell))
ROW 2:- CH6 , 1 DC in next SC * CH3, skip next 3 DC, 1 DC in next DC, CH3, 1 DC in next SC, repeat from * to last 4 stitches, CH3, 1 DC in TCH, turn
ROW 3:- CH 1, *1 SC in next DC , CH3, repeat from * to last stitch, 1 SC in 3rd CH of CH6, turn
ROW 4:- CH 1, 1 SC in first SC, *CH3, 1 SC in next SC, repeat from * to end of row, turn
ROW 5:- CH 1, 1 SC in first SC, *Shell in next SC, 1 SC in next SC, repeat from * to end of row. Turn
(you should have 7 shells)
ROW 6:- CH 6, skip 3 DC, 1 DC in next DC, * CH3, skip next 3 DC, 1 DC in next SC, CH3, 1 DC in next DC, CH3, DC in next SC, repeat from * to end of row, turn.
ROW 7:- Repeat Row 3
ROW 8-10:- Repeat Row 4
ROW 11:- CH 3, 3 DC in first SC, 1 SC in next SC, *Shell in next SC, 1 SC in next SC, repeat from * to last SC, 4 DC in last SC, turn.
Repeat rows 2-11 you should have enough yarn in the one ball to complete 10 more repeats to end on Row 121 (Row 11). If not I recommend finishing on one of the rows of shells.
Instructions written using UK crochet terms
ROW 1:- CH 60, 3 TRC in 4th CH from the hook, skip 3 CH, 1 DC in next CH *skip 3 CH, Shell in next CH, skip 3 CH, 1 DC in next CH, repeat from * to the last 4 CH, skip 3 CH, 4 TRC in last CH, turn.
(you should have 6 whole shells and 2 x 4 TRC (half/shell))
ROW 2:- CH6 , 1 TRC in next DC * CH3, skip next 3 TRC, 1 TRC in next TRC, CH3, 1 TRC in next DC, repeat from * to last 4 stitches, Ch3, 1 TRC in TCH, turn
ROW 3:- CH 1, *1 DC in next TRC , CH3, repeat from * to last stitch, 1 DC in 3rd CH of CH6, turn
ROW 4:- CH 1, 1 DC in first DC, *CH3, 1 DC in next DC, repeat from * to end of row, turn
ROW 5:- CH 1, 1 DC in first DC, *Shell in next DC, 1 DC in next DC, repeat from * to end of row. Turn
(you should have 7 shells)
ROW 6:- CH 6, skip 3 TRC, 1 TRC in next TRC, * CH3, skip next 3 TRC, 1 TRC in next DC, CH3, 1 TRC in next TRC, CH3, TRC in next DC, repeat from * to end of row, turn.
ROW 7:- Repeat Row 3
ROW 8-10:- Repeat Row 4
ROW 11:- CH 3, 3 TRC in first DC, 1 DC in next DC, *Shell in next DC, 1 DC in next DC, repeat from * to last DC, 4 TRC in last DC, turn.
Repeat rows 2-11 you should have enough yarn in the one ball to complete 10 more repeats to end on Row 121 (Row 11). If not I recommend finishing on one of the rows of shells.
Additional Pattern Notes:-
I decided against blocking the wrap as I really like the fuzziness effect of this yarn, and my finished measurements were 64” long and 14” wide.
If you wanted to make a wider and/or shorter wrap/scarf the stitch repeat is 8+4
The shells on Rows 1 and 5 are not intended to be in line with each other, they are offset.
I have tested this pattern and the most common mistake is to forget the final DC stitch of the row; it can be easy to miss, especially with this yarn, if you are on the thinner part of the yarn, it can be a small stitch to see.
When you are on your second repeat of the pattern, hold your work up and check that your shells are in the correct place for their row sequence. Yep! on the 3rd time of testing the pattern I went gaily off and ended up frogging around 20 rows!
Any questions contact me at sarah@crochet247.com
Did you like the pattern?
Beautiful soft shell design using Lion Brand Shawl in a Ball. One ball crochet pattern project.
Please remember to PIN/LIKE/SHARE on Facebook/Instagram/Pinterest so others can find me, and you don’t miss any new patterns coming soon!
Facebook – Crochet 24/7
Instagram – @crochet247
Pinterest – Crochet247
Ravelry – Crochet247
Etsy – Crochet247Design
@Copyright 2017 Sarah Sullivan owner of Crochet247.com. This pattern is my own original design and whilst you may sell any finished articles you make from the pattern at craft fairs, Etsy etc. please always add a link back to my blog/website and provide credit for the pattern.
If you would like to share the pattern on social media please ensure that if you Pin etc. that you provide the link back directly to my website post.
If you want to share the pattern on your own website/blog then please use the first photo in the post, and link back to my original post.
You may not copy and paste my patterns; or give away printed copies of this pattern or my blog post on the pattern
New Beginning Infinity Cowl Crochet Pattern
New Beginning
I first designed this cowl crochet pattern two years ago, and since then, I must have made it around 130 times; it is a popular design, and has sold well as a finished item at the Xmas Craft Fairs I booked.
When I decided to launch this website and blog, I thought it would be perfect to publish as my first free crochet pattern.
As this new blog venture also marks a new career, for me, it seemed appropriate to call the cowl “New Beginning”; and the fact that it is infinite, with no end, seemed fatalistic – is that a word! you know what I mean – fate.
Recommended yarns.
Below you will find all the instructions to make this cowl, and as you will see, I have tried it out with lots of different yarns.
My absolute favourite is the James C Brett Marble Chunky 200g ball (it takes just one ball); as I love all the variations in colour, and the yarn is super-soft acrylic. This particular yarn comes in 60+ colours so there is something for everyone. http://www.jamescbrett.co.uk/yarn/marble-chunky
However, I know my USA friends may struggle to find this yarn, so I have given you an extra couple of options below.
Add to your Favourites or Queue on Ravelry
Hope you enjoy making this pattern, and I would love to see your finished item pictures on my Facebook page.
New Beginning Infinity Cowl
Difficulty Level: – Easy + due to slightly more challenging stitches, not suitable for a beginner.
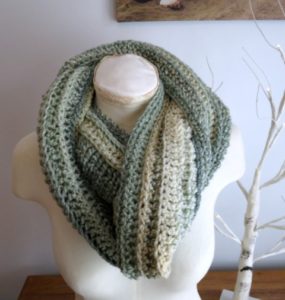
Easy free crochet pattern available on www.crochet247.com using James C Brett Marble Chunky MC67
Stitches Used: –
UK TERMS
CH – chain
HTR – Half Treble Crochet
DTR – Double Treble Crochet
USA TERMS
CH – chain
HDC – Half Double Crochet
TRC – Treble Crochet
Special Stitches: –
Half Treble Crochet (UK)/ Half Double Crochet (USA) : – starting with 1 loop on your hook, wrap yarn over hook, pass under 1 loop in the starting chain, yarn over, pull through, (3 loops on your hook), yarn over and pull through all 3 loops.
Half Treble Crochet into the 3rd loop (UK)/Half Double Crochet into the 3rd loop (USA): – when you have completed your Row 1 of HTR/HDC, CH2 and turn, and look at your row, holding your work slightly towards you. You will see the usual top 2 loops, but you will also notice a 3rd loop behind, this is where you will make your stitch by passing under this back loop only. Still confused – check out this great USA terms tutorial from Tamara @ Moogly https://www.mooglyblog.com/third-loop-half-double-crochet/
Double Treble Crochet (UK)/Treble Crochet (USA): – starting with 1 loop on your hook, wrap yarn over twice, pass under top 2 loops of your stitch, yarn over, pull through, (4 loops on hook), yarn over, pull through front 2 loops, yarn over, pull through 2 loops, yarn over, pull through last 2 loops, leaving 1 remaining loop on hook.
Special notes: – CH2 at the beginning of the row does not count as a stitch.
Yarn Used: – James C Brett 200g Marble Chunky 100% Acrylic 312m/341 yards in colour MC67 in the lead picture; the yarn band advises a 6mm hook, but I always use a 9mm hook for this pattern.
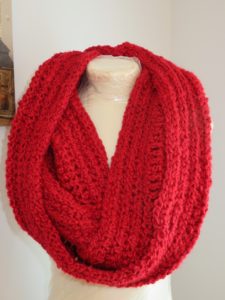
I have also used King Cole Drifter Chunky in 2159 Jakarta ( see below left ), and Lion Brand Homespun in Candy Apple ( below right ). The pattern will work well with any Chunky/5 weight yarn, I even made one holding two strands of Double Knit (DK) together, and had a great result.
Hook Size Used: – 9mm crochet hook; Gauge: – not important for this project.
Instructions written using UK crochet terms.
Let’s get started!
ROW 1 : – CH 182 HTR into 3rd chain from the hook, HTR into each CH across (180), Turn.
ROW 2 :- CH2, HTR into 1st stitch, 2nd stitch HTR into 3rd loop only and repeat across, until you reach the last stitch; on the final stitch HTR (180), Turn
ROW 3 : – 5:- repeat ROW 2
ROW 6 :- CH2, DTR into 1st stitch (under front 2 loops), and repeat across (180), Turn
ROW 7 :- repeat ROW 6
ROW 8: – 11 repeat ROW 2
Fasten off, and seam the short ends together, using your preferred method – mattress etc.
Depending on your tension this should produce a scarf of approx. 80 inches, (40 inches once joined), long enough to double wrap over your head for a loose fit infinity chunky cowl.
My own preference is to turn and crochet the seams together, using a HTR (UK); which produces an attractive chunky seam adding to the rustic appeal of the cowl.
Instructions written using USA crochet terms.
Let’s get started!
ROW 1 : – CH 182 HDC into 3rd chain from the hook, HDC into each CH across (180), Turn.
ROW 2 :- CH2, HDC into 1st stitch, 2nd stitch HDC into 3rd loop only and repeat across, until you reach the last stitch; on the final stitch HDC (180), Turn
ROW 3 : – 5:- repeat ROW 2
ROW 6 :- CH2, TRC into 1st stitch (under front 2 loops), and repeat across (180), Turn
ROW 7 :- repeat ROW 6
ROW 8: – 11 repeat ROW 2
Fasten off, and seam the short ends together, using your preferred method – mattress etc.
Depending on your tension this should produce a scarf of approx. 80 inches, (40 inches once joined), long enough to double wrap over your head for a loose fit infinity chunky cowl.
My own preference is to turn and crochet the seams together, using a HDC; which produces an attractive chunky seam adding to the rustic appeal of the cowl.
Any questions please contact me at sarah@crochet247.com
Did you like the pattern? Please remember to PIN/LIKE/SHARE on Facebook/Instagram/Pinterest so others can find me, and you don’t miss any new patterns coming soon!
Facebook – Crochet 24/7
Instagram – @crochet247
Pinterest – Crochet247
Ravelry – Crochet247
@Copyright 2017 Sarah Sullivan owner of Crochet247.com.
This pattern is my own original design and copyright, you may sell any finished articles you make from the pattern, but if offering the items for sale online, then please add the credit for my design and link for my web post in your description.
Sharing on social media? please ensure that you Pin etc. and provide the link to my website.
You are welcome to share the pattern on your own website/blog by using just the first photo in the post; and linking back to my original post.
You may not copy and paste my patterns; or give away printed copies of this pattern; or my blog post on the pattern.
What was your crochet trigger?
When and why did you learn to crochet?
So for everyone who crafts, whether you knit or crochet, there was a trigger! right? something that set you off on your journey with yarn. What was it for you? A picture, an item, a club you wanted to join?
Mine was a picture; a couple of years ago as I was browsing the magazine stand at my local store.
A lovely crocheted cushion made with bright and colourful granny squares, outlined and set off with a white border. It was so clean and pretty, I just had a sudden urge to make it myself. The picture was in Simply Crochet magazine and was designed by Ilaria Chiaratti http://www.idainteriorlifestyle.com
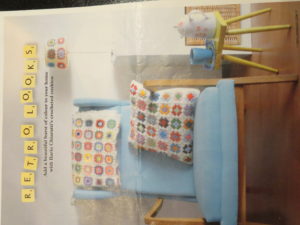
I bought the magazine, some bright coloured yarn and a crochet hook and went home and started to teach myself the basics. I spent a few evenings without actually accomplishing anything, watching You-tube videos, trying to hold the hook “correctly”, wrong stitches, frogging over and over again, how many times should the yarn go around the hook, my family thought I had gone mad! But I was determined to master this new skill, I wanted that cushion!
I went to visit my Mum ( who is an amazing knitter) and discovered her to be an accomplished crocheter too ( I didn’t know this!). I asked her to crochet one granny square so I could watch her. Yes, I discovered at this point, I am a visual learner. It clicked!, I suddenly got it, and whilst I still kept miscounting the number of trebles needed to make the flower etc. I was off and running!
Along the way, I ignored all of my Mum’s pleas to correct my horrible hold on the crochet hook, change the way the yarn was draped across my fingers, and do not pick the yarn up with your fingers to lift it to make the stitch! You know what, it didn’t matter, everyone has their own method that works for them.
I completed my cushion, here is my picture, and I don’t need to tell you all, cos I know you all get it, what a sense of accomplishment I felt at completing it. I was so proud of myself.
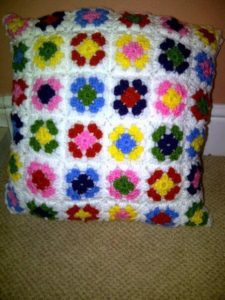
That was a couple of years ago, and I still hold the hook “incorrectly” at times depending on the yarn and the size hook I am using!
But, I completely fell in love with crochet, and developed a real thirst to learn, trying more adventurous stitches and patterns – oh yeah, and along the way a compulsive retail habit for purchasing yarn – that “shush”! I will whisper this quietly; just between you and me ……. that I don’t really need, but just have to own, and put in my stash.
Fast forward, and here we are; at my website and blog launch, I like writing and I think I may like designing too, and for the friends who will currently read this first blog, I hope you found it entertaining! Feel free to share with friends and anyone you think might enjoy it.
And for anyone who doesn’t crochet, stay with me, I hope to inspire you to try! I would love to be your crochet trigger, in the same way that Ilaria inspired me.

