Banana Split Ice Cream Cowl
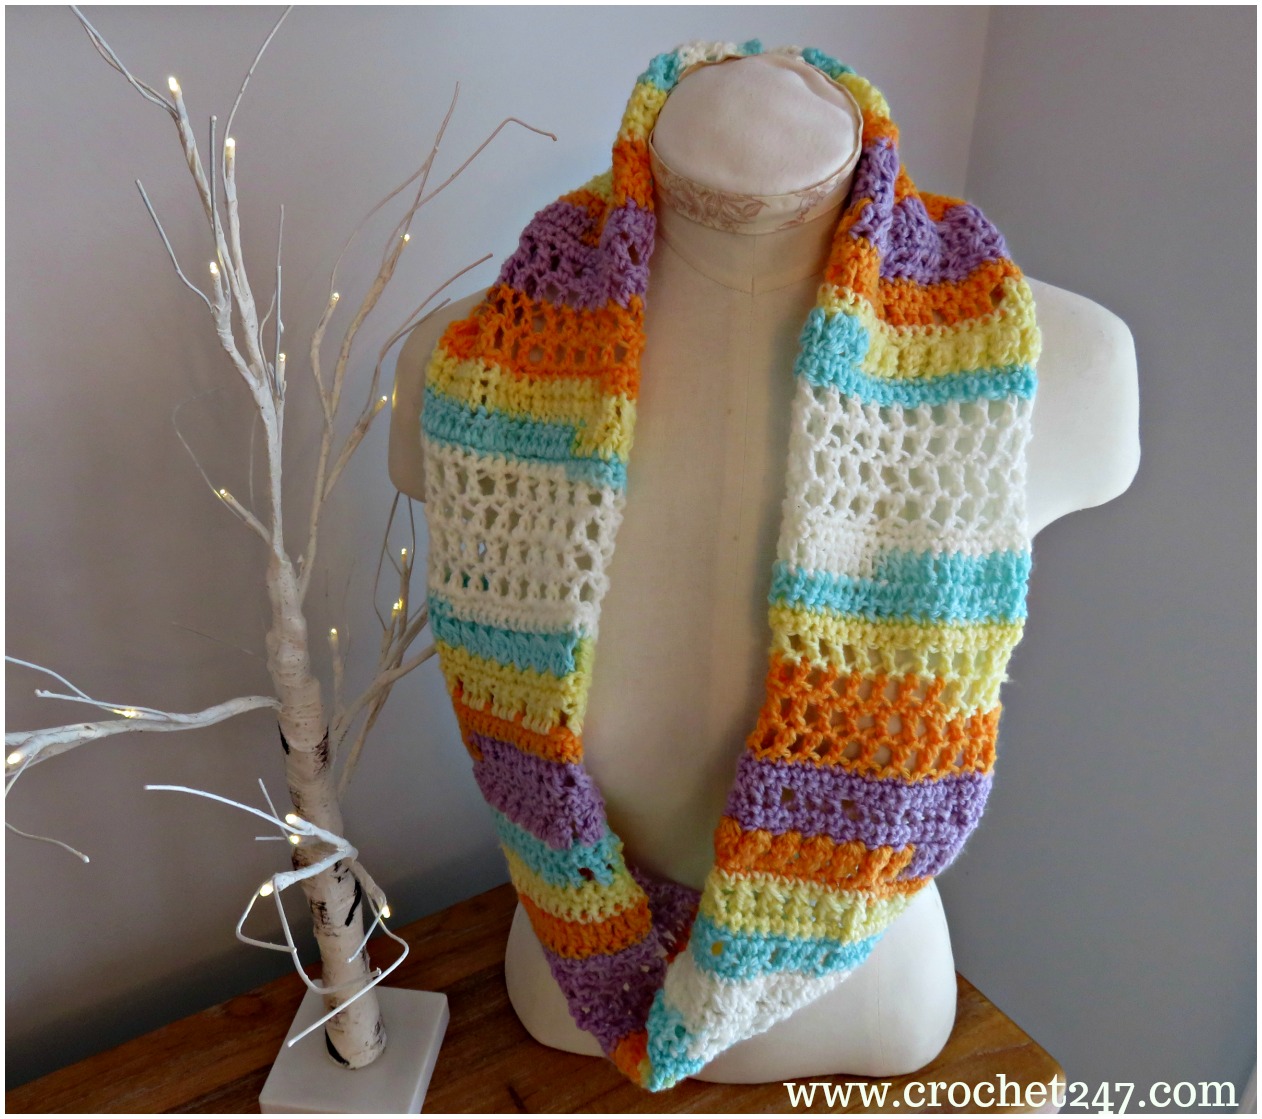
Banana Split Ice Cream Cowl – an easy and fun beginner+ crochet pattern for a child’s scarf/cowl
– great quick project to help you learn some new crochet stitches and to practise counting your stitches!
Lion Brand recently sent me a ball of their gorgeous yarn called Ice Cream, which although popular in the US is not so well known here in the UK.
The yarn is 100% soft acrylic, and a sport weight, also known as 5-ply, which sits between a 4-ply and a DK. Each ball is 100g, but seems huge, because you have a whopping 394 yards (360m) to play around with.
Then add in the fact that the yarn is available in 21 self-striping options, ranging from the bright and cheerful Birthday Cake, to the more muted neutral shades of Cookies and Cream, incidentally, all of the range are named after yummy desserts!
The yarn I received is called Banana Split; a gorgeous mix of lemon, orange, lilac, duck egg, and white; and ideal for baby and children’s items, I managed to get a couple of rows of each colour change.
Now, I must admit, as you all, already know, I don’t generally design with children in mind, and actually I have never attempted to crochet for babies or young children. My twin girls are almost 16, and as I only started crocheting a couple of years ago, sadly I missed out on that early-years making stage.
So, when the yarn first arrived, I really felt out of my comfort zone with the bright colours, and I was initially a bit stumped on what to make with it. Then, I decided the colours reminded me of a day at the beach with buckets and spades, and certainly in the UK, on most days, even when it’s really sunny, the wind can still be cold.
I have also been reflecting for a while, about that time period, when you have just learned to crochet, mastered the basics, and you are looking for easyish patterns, that also stretch you a little, without feeling overwhelmed, and giving up before you finish the item.
I decided to combine the two and have designed a child’s sized cowl, using rows of double and treble crochet,that a beginner would feel comfortable with; and alternating with rows of some of my favourite decorative stitches.
Because this is a child’s sized cowl, only 24 stitches across, a beginner can try a short row of something new, and then head back to complete a couple of rows of stitches they know well, maybe this would also be a good project for a child learning to crochet, to make something they can wear themselves.
Click Here to add to your Ravelry Favourites!
Pick your favourite image to PIN! to your Pinterest Board.

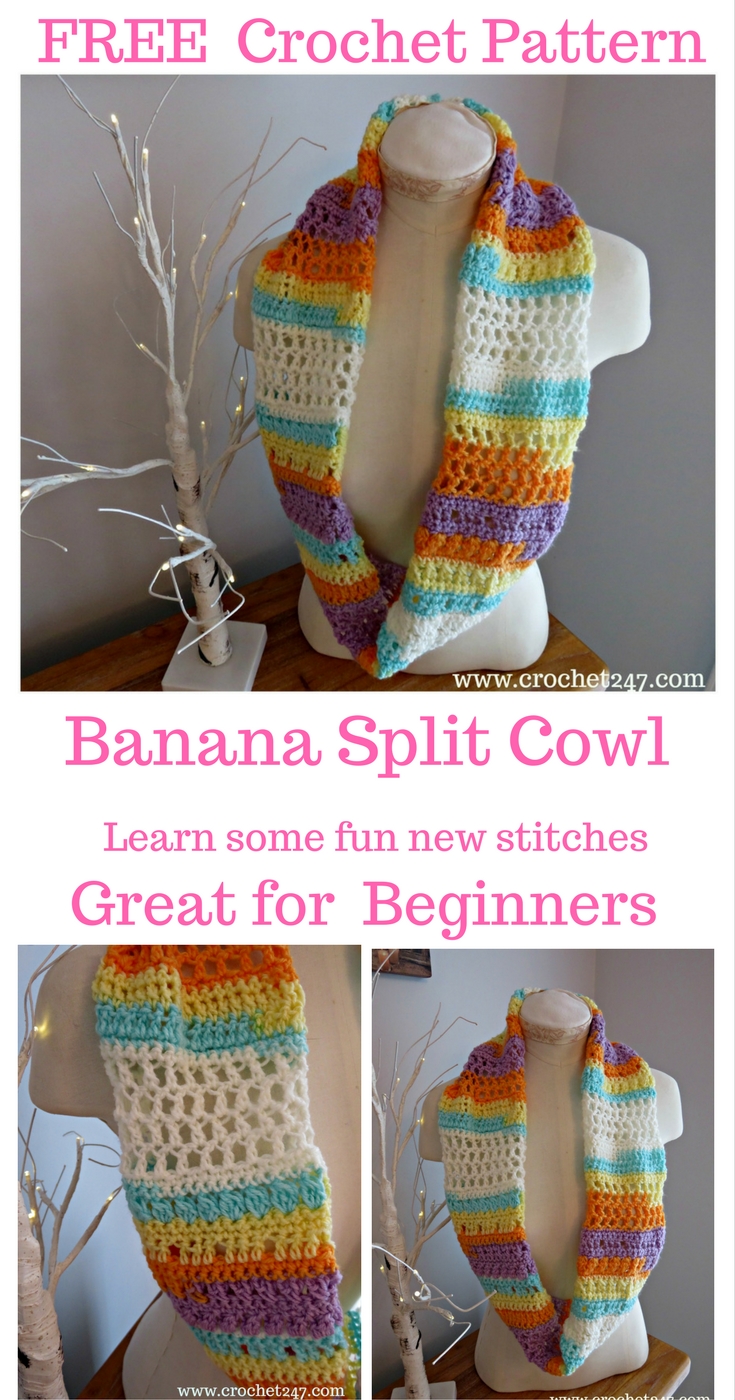
Banana Split Ice Cream Cowl a crochet pattern from www.crochet247.com an easy and fun pattern for beginners who are ready to challenge themselves with new stitches
The Banana Split Ice Cream Cowl is designed for a younger child to wear long as it is, and/or double up when more warmth is needed, although sized up the pattern could easily be adapted for a teenager/adult.
I think it’s a great beginner+ project, enabling you to easily practise some new crochet stitches in short rows.
(We have all been there, when you get to the end of a 200 stitch row, and find you are one stitch out, somewhere; usually because you placed your very first stitch incorrectly!)
With this easy cowl, if you make a mistake it’s easy to undo, and begin again at the start of the row, it will also help you to practise counting your stitches, and also what you count as a stitch, which I found really difficult to remember, for a long time.
1 ball was sufficient for this project, I used around 85g of the Ice Cream yarn, you would easily have enough over to make a little matching headband (now there is an idea!) or flower embellishment.
Difficulty Level: – Easy suitable for a beginner + – who has a basic knowledge of stitches, no change of yarn needed.
Stitches Used: –
UK TERMS
CH – Chain
DC – Double Crochet
TRC – Treble Crochet
USA TERMS
CH – Chain
SC – Single Crochet
DC – Double Crochet

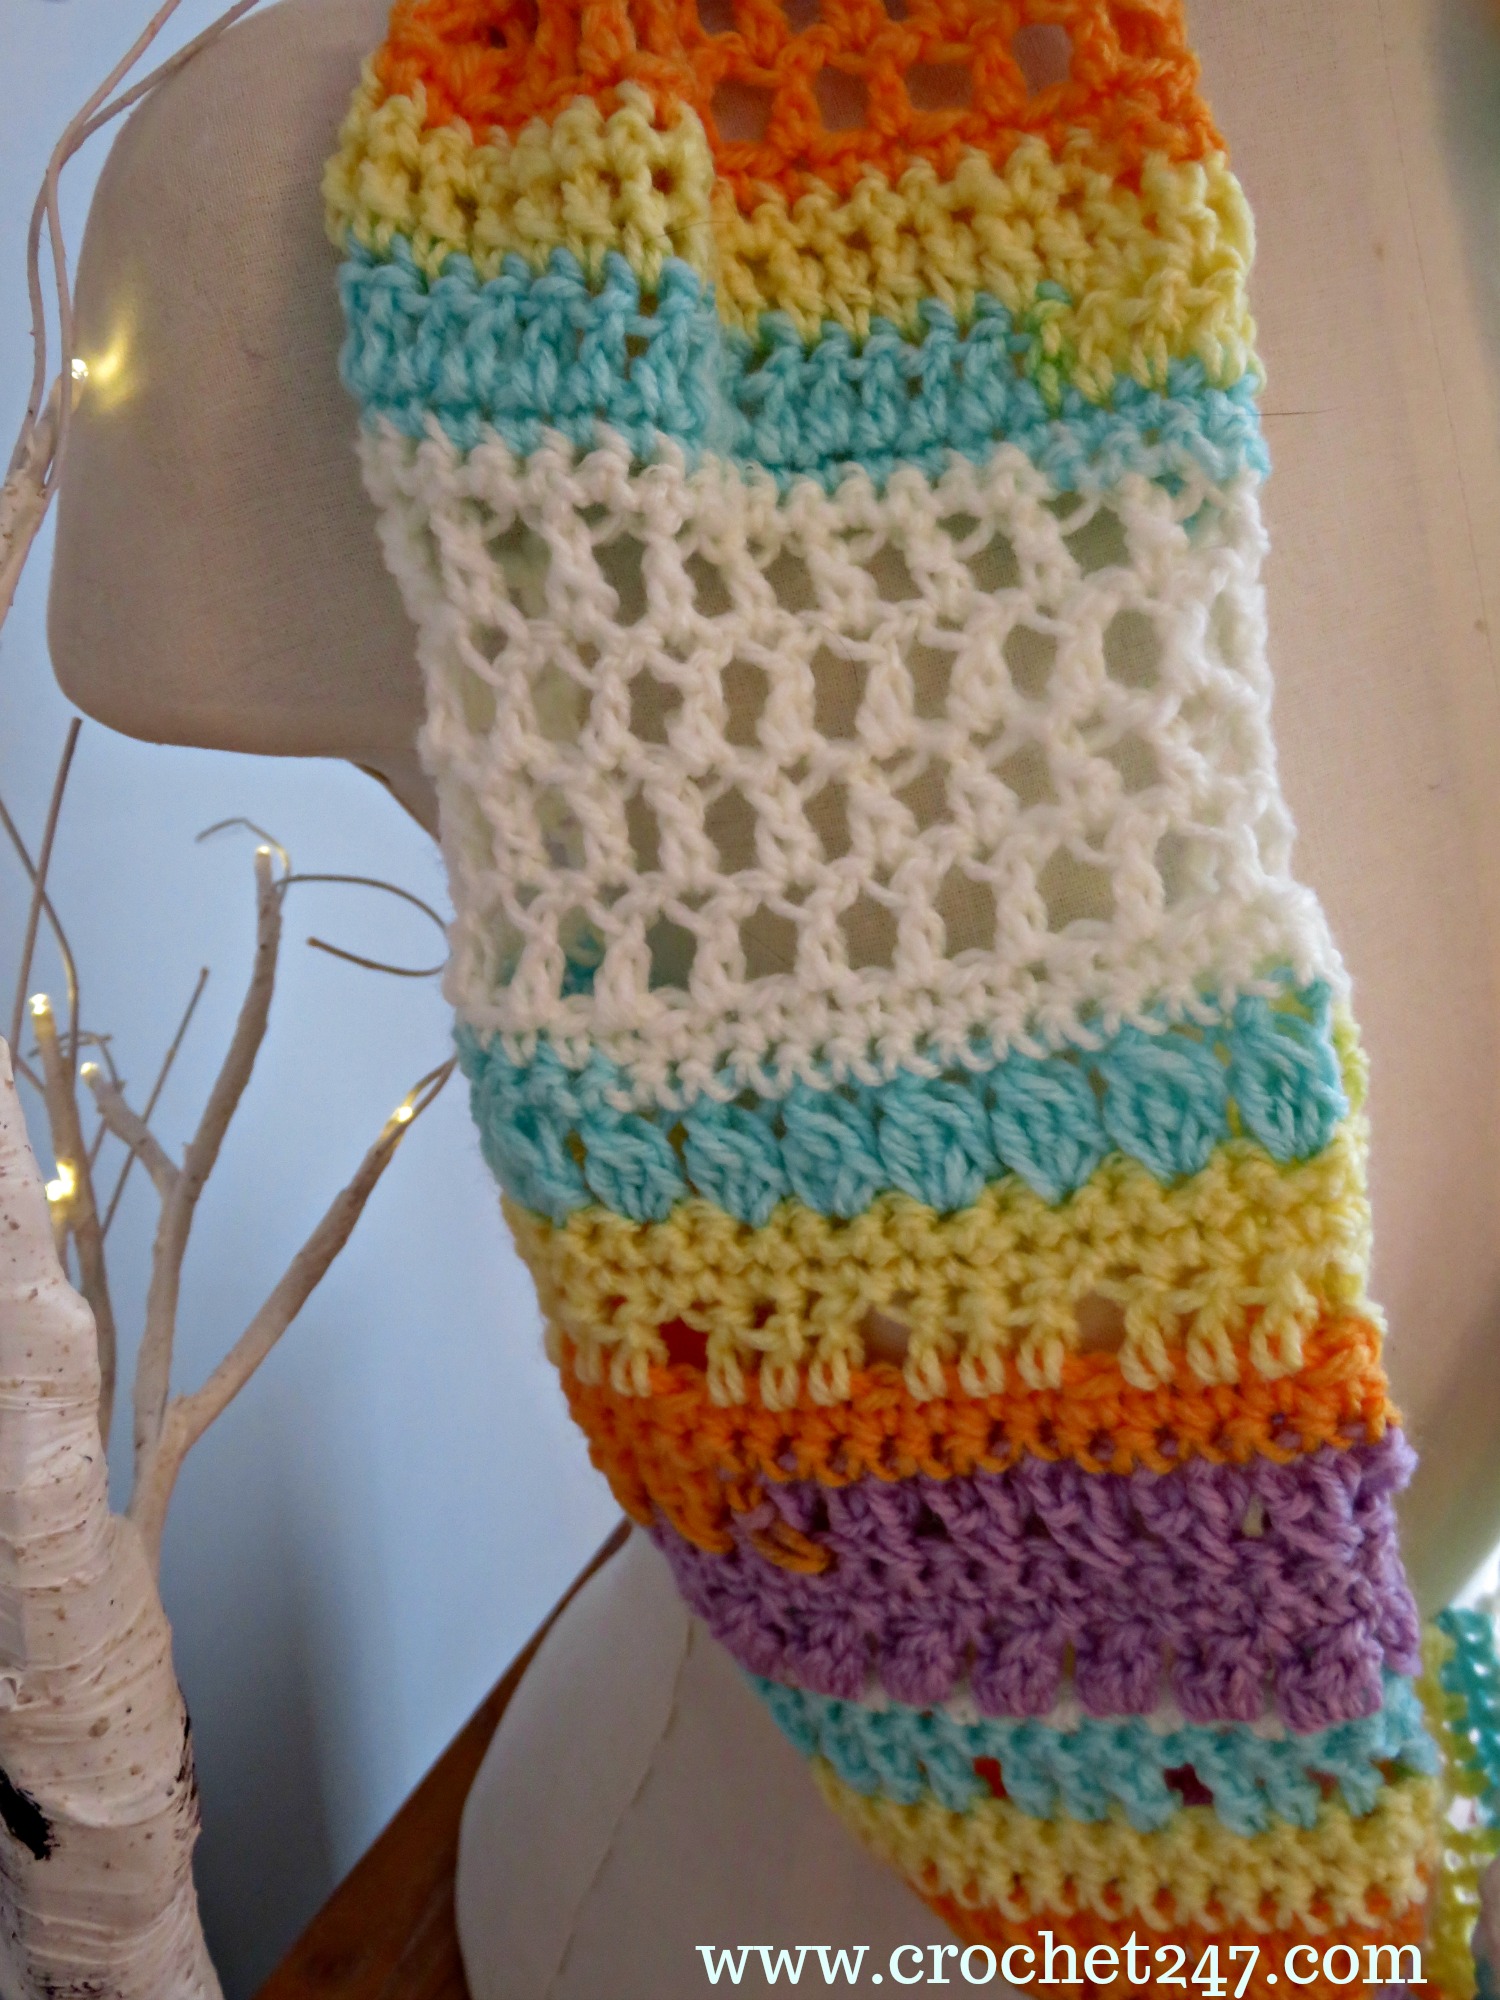
Banana Split Ice Cream Cowl close up of stitches used in the crochet pattern from www.crochet247.com
Special Stitches: –
Bobble Stitch:- Bobble stitch is several half closed stitches made in the same stitch, and then joined together, to finish the stitch.
We will half close 3 Treble Crochets – to start – Yarn over, insert hook into stitch, yarn over, pull through (3 loops on hook), yarn over, pull through 2 loops; yarn over, insert back into same stitch, yarn over, pull through (4 loops on hook), yarn over, pull through 2 loops; yarn over insert back into same stitch, yarn over, pull through (5 loops on hook), yarn over, pull through 2 loops, yarn over, pull though remaining 4 loops.
Cross Stitch:- (2 Treble Crochets making an X)
Skip one stitch, Treble Crochet in next stitch, then go back to your skipped stitch and make another Treble Crochet and you will have formed an X.
It doesn’t matter if you go through the front or the back to reach the skipped stitch, as long as you are consistent.
Yarn Used: –
Lion Brand Ice Cream in Banana Split 100% Acrylic 100g 394yd, 360m, I searched for you and Amazon have some great prices on this yarn, and for your convenience I have added the links here for you if you wanted to take a look. For my UK friends – Amazon UK click here and my American friends – Amazon USA click here
Hook Size Used: –
6mm crochet hook – a 4mm crochet hook is advised by the yarn company, but I have used a 6mm for a more open and loose effect with the stitch pattern.
Gauge: – Rows 1-10 measure 7.5” width and 3.25” high.
Instructions written using UK crochet terms.
CH1 – Does not count as a stitch
CH3 – Counts as the first TRC stitch throughout, meaning the very first space to place a stitch, is already “used”.
Let’s begin!
ROW 1:- CH 27, TRC in 4th CH from hook, (counts as 2 TRC) , TRC in next CH; *(CH1, Skip 1, TRC in next 3 CH) repeat from * 5 times; CH1, Skip 1, TRC in last CH. (18 TRC, 6 CH1 spaces), turn
ROW 2:- CH1, DC in first TRC, continue with a DC in each TRC, and each CH (put the hook into the chain, not the space below), repeat across, (24 DC), turn
ROW 3:- CH1, DC in first DC and then repeat across, (24 DC), turn
ROW 4:- CH3 (counts as first stitch), Bobble in next DC, *(CH1, Skip 1, Bobble) and repeat from *10 times , CH1, Skip 1, TRC in last DC. (11 Bobbles, 2 TRC), turn
ROW 5:- CH1, DC in each stitch across (Top of the Bobble, and into the CH1 from previous row), final DC in 3rd starting CH of previous row (24 DC), turn
ROW 6:- CH1, DC in each DC across (24 DC), turn
ROW 7:- CH3 (counts as 1TRC) , Skip next stitch, 1 TRC in next DC, then go back to your Skipped stitch and add a TRC in the DC to make an X, *(skip stitch, TRC in next DC, TRC in skipped stitch) * repeat across 9 times; TRC in final stitch (11 X Stitches, 2 TRC), turn
ROW 8:- CH1, DC in each TRC across, final stitch DC in CH3 of previous row (24 DC), turn
ROW 9:- CH1, DC in each DC across (24 DC), turn
ROW 10:- CH3 (counts as 1st stitch), TRC in next 3 DC, CH1, Skip 1, TRC in next 3 DC, (CH1, Skip 1, 3 TRC) repeat 3 times; CH1, Skip 1, TRC in next 3 DC (19 TRC), turn
ROW 11:- CH1, DC across (24 DC), turn
ROW 12:- CH1, DC across (24 DC), turn
ROW 13:- CH3, Skip 1, Bobble, *(CH1, Skip 1, Bobble) repeat 9 further times; Skip 1, TRC in final stitch (11 Bobbles), turn
ROW 14:- CH1, DC across (24 DC), turn
ROW 15:- CH1, DC across (24 DC), turn
ROW 16:- CH3, Skip 2, TRC, TRC in skipped stitch to make the X, *(skip stitch, TRC in next DC, TRC in skipped stitch) * repeat across a further 9 times, TRC in final DC (11 X; 2 TRC), turn
ROW 17:- CH1, DC across, turn (24 DC)
ROW 18:- CH1, DC across, turn (24 DC)
ROW 19:- CH3, 2 TRC, *(CH1, Skip 1, 3 TRC), *repeat a further 4 times, TRC in final DC, turn
ROW 20:- CH1, DC across, turn (24 DC)
ROW 21:- CH1, DC across, turn (24 DC)

Banana Split Ice Cream Cowl a crochet pattern from www.crochet247.com an easy and fun pattern for beginners who are ready to challenge themselves with new stitches
ROW 22:- CH3, Skip 1, Bobble, *(CH1, Skip 1, Bobble) *repeat a further 9 times, CH1, Skip 1 TRC, turn
ROW 23:- CH1, DC across, turn
ROW 24:- CH1, DC across, turn
ROW 25:- CH3 counts as a stitch, TRC, *(CH1, Skip 1, TRC) *repeat a further 10 times, turn (13 TRC)
ROW 26:- CH3, Skip 1, TRC (in TRC from previous row), *(CH1, Skip 1, TRC) *repeat a further 9 times, TRC in 3rd CH of previous row, turn (13 TRC)
ROW 27:- CH3, TRC *(CH1, Skip 1, TRC) *repeat a further 9 times, TRC in 3rd CH of previous row, turn (13 TRC)
ROW 28:- CH3, TRC (in TRC from previous row), *(CH1, Skip 1, TRC) *repeat 9 further times, CH1, TRC in 3rd CH of previous row, (13 TRC, 11 CH1), Check your count before you continue!
ROW 29:- CH1, DC in first TRC, continue with a DC in each TRC, and each CH, repeat across, (24 DC), turn
ROW 30:- CH1, DC across, (24 DC), turn
ROW 31:- CH3, TRC in each DC, repeat across (24 TRC), turn
ROW 32:- CH3, TRC in each DC, repeat across (24 TRC), turn
ROW 33:- CH1, DC in each TRC across (24 DC)
ROW 34:- CH1, DC in each DC across (24 DC)
ROW 35:- CH3 counts as a stitch, TRC, *(CH1, Skip 1, TRC) *repeat a further 10 times, turn
ROW 36:- CH3, Skip 1, TRC (in TRC from previous row), *(CH1, Skip 1, TRC) *repeat s further 9 times, TRC in 3rd CH of previous row, turn
ROW 37:- CH3, TRC *(CH1, Skip 1, TRC) *repeat a further 9 times, TRC in 3rd CH of previous row, turn
ROW 38:- CH3, TRC (in TRC from previous row), *(CH1, Skip 1, TRC) *repeat a further 9 times, CH1, TRC in 3rd CH of previous row, (13 TRC, 11 CH1), Check your count before you continue!
ROW 39:- CH1, DC in first TRC, continue with a DC in each TRC, and each CH, repeat across, (24 DC), turn
ROW 40:- CH1, DC in each DC across, (24 DC), turn
ROW 41:- ROW :-80 Repeat Rows 1-40, adding more rows if you prefer a longer length.
Rows 1-40 for my sample scarf measures 16” x 7.5” so a repeat would give you a scarf length of 32”. Once you have mastered the stitches, you don’t have to stick to my sequence, you can mix it up if you like some stitches more than others.
Seaming together:-
To finish bring the short ends together, and crochet a seam, I made a DC through the stitches on both sides as I like the seam to be noticeable.
Need some additional help:-
Tamara from Moogly has a great tutorial showing how to join your pieces with either a slip stitch or double crochet (http://www.mooglyblog.com/slip-stitch-single-crochet-seaming/ ) (Tamara is in the US so refers in the video to single crochet, which in the UK we call a double crochet).
You may also prefer to use the mattress method – for a tutorial on mattress method I recommend watching this link from One Dog Woof Crochet (https://www.youtube.com/watch?v=4_fKBfybaZI).
Any questions, any errors you notice on the pattern instructions, please just let me know, I am only human! contact me at sarah@crochet247.com
Did you like the pattern? Please remember to PIN/LIKE/SHARE on Facebook/Instagram/Pinterest so others can find me, and you don’t miss any new patterns coming soon!
Facebook – Crochet 24/7
Instagram – @crochet247
Pinterest – Crochet247
Ravelry – Crochet247
@Copyright 2017 Sarah Sullivan owner of Crochet247.com. This pattern is my own original design and whilst you may sell any finished articles you make from the pattern at craft fairs, Etsy etc. please always add a link back to my blog/website and provide credit for the pattern.
If you would like to share the pattern on social media please ensure that if you Pin etc. that you provide the link back directly to my website post.
If you want to share the pattern on your own website/blog then please use just the first photo in the post and link back to my original post.
You may not copy and paste my patterns; or give away printed copies of this pattern or my blog post on the pattern
 Banana Split Ice Cream Cowl crochet pattern for beginners who want to challenge themselves and practise new stitches[/caption]